


Dec
Knitting tip & techniques, KAL
Útivist KAL (4)
Here is the part 4 of the #utivistkal tutorials. Don’t forget to tag your projects with #utivistkal #utivistsweater on instagram so I can find you! The first tutorial is here, the 2nd one here and the third one here. The Útivist pattern can be purchased here on my website or on Ravelry and the KIT is available here on my website in different colors.
All the videos for the making of Útivist can also be found on my youtube channel.
Here comes the finishing and it’s a bit long!
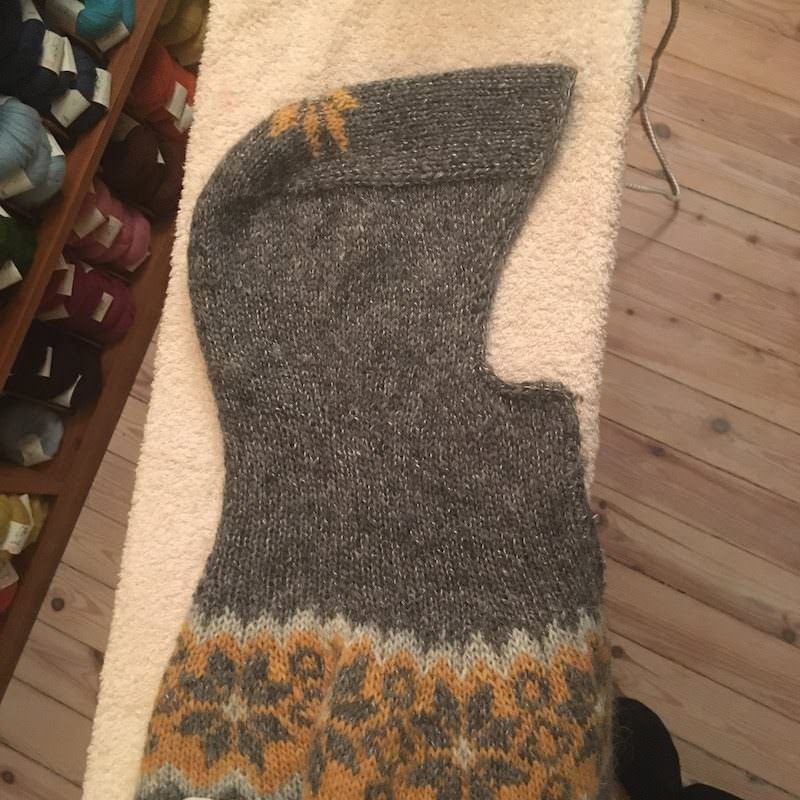
First is washing/blocking time: I use the wool program of my washing machine – which I trust better than my hands – and let the sweater dry flat on the heated floor of my bathroom. It takes no time!

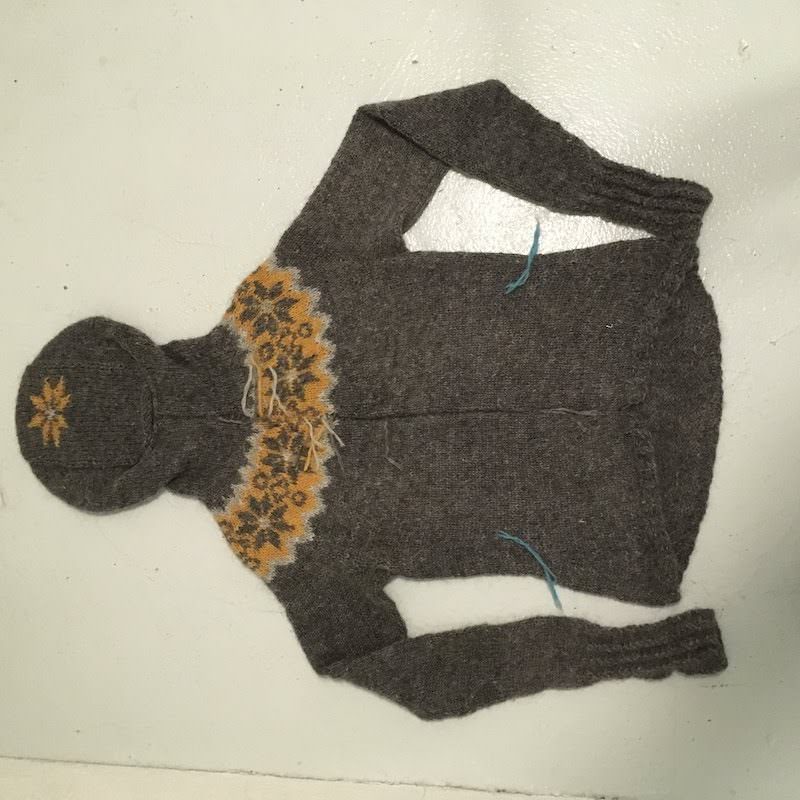
Notice the pieces of cardboard I use in the wrists: the very same ones I use to block my mittens.
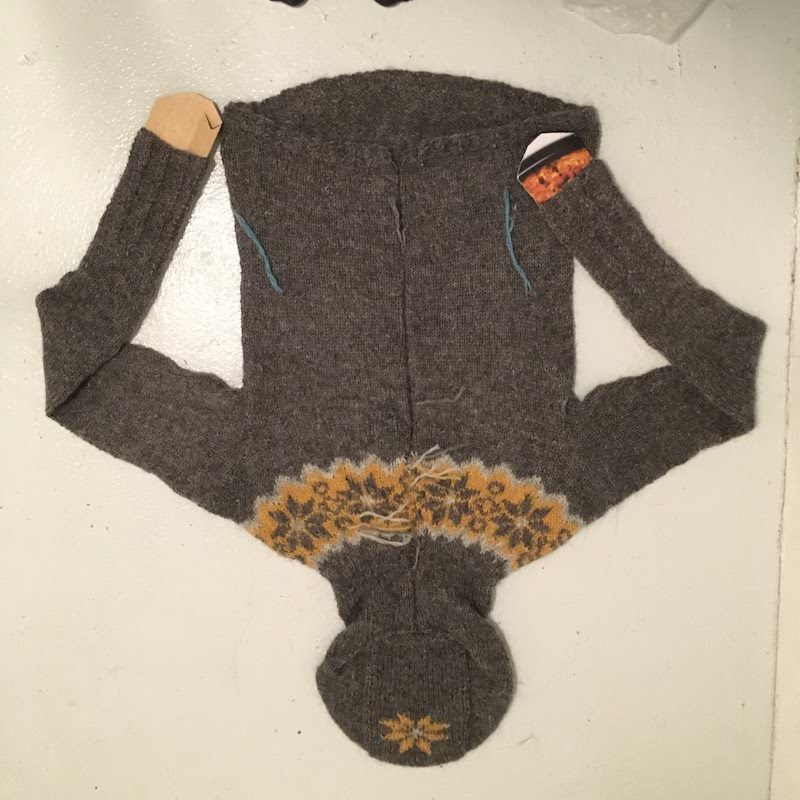
It looks much better already!

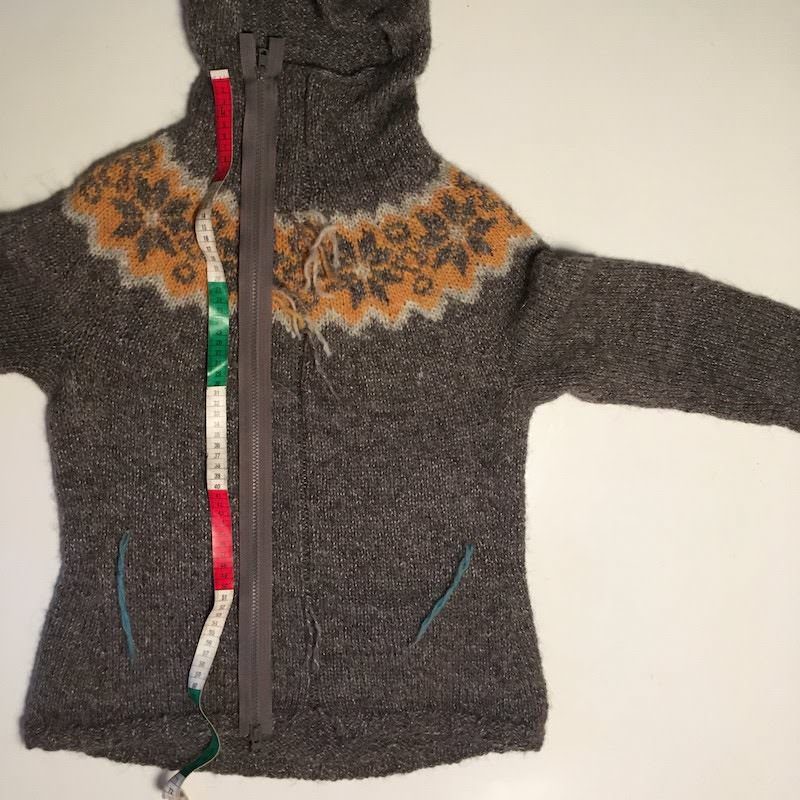
At that point I carefully measure the zipper length and buy a zipper, have it shorten so it’s the exact same length (you can do it yourself and make a stopper by sewing yarn between two teeth).
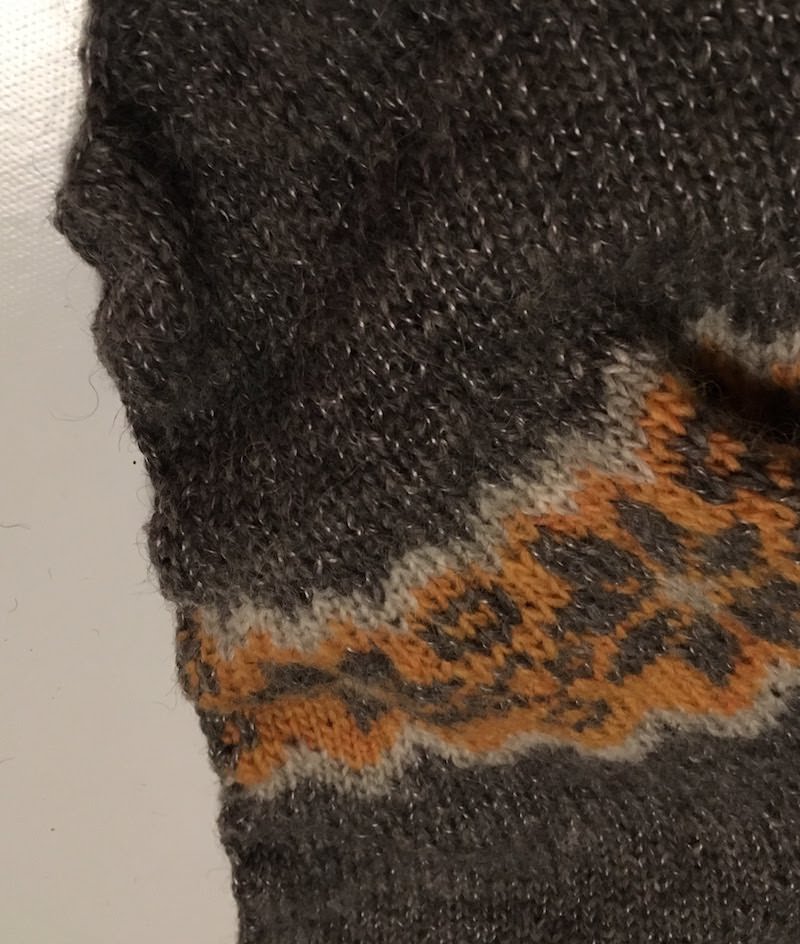
Then comes the sewn steek at the front: refer to my full steeking tutorial here.
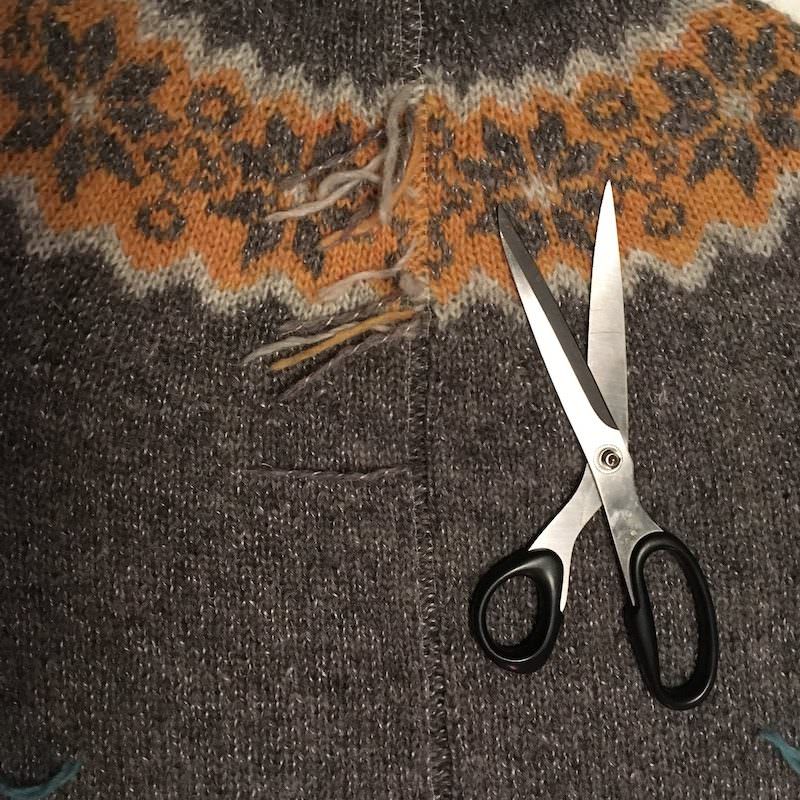
And cut! Don’t you like the noise?
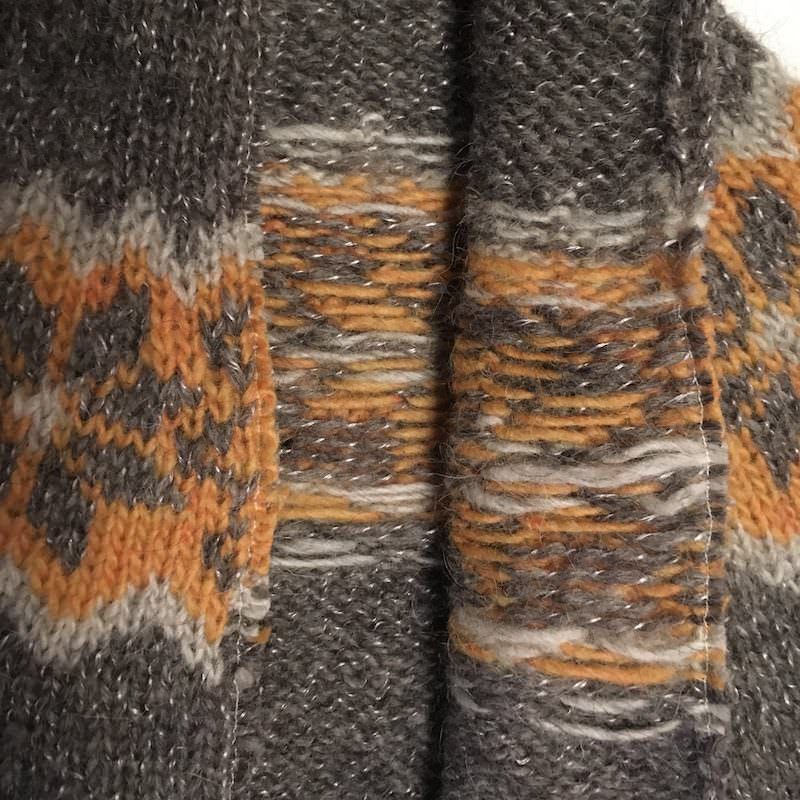
Then come the crocheted edge: in two stitches out of three. The crochet goes around the edges and hides the steek. Here is a video.
At that point it will look like the edges are a bit frilled: it’s normal and it will all go back to normal after a bit of steam blocking.
The pockets are also opened, this time with a crochet steek: see my full tutorial here.
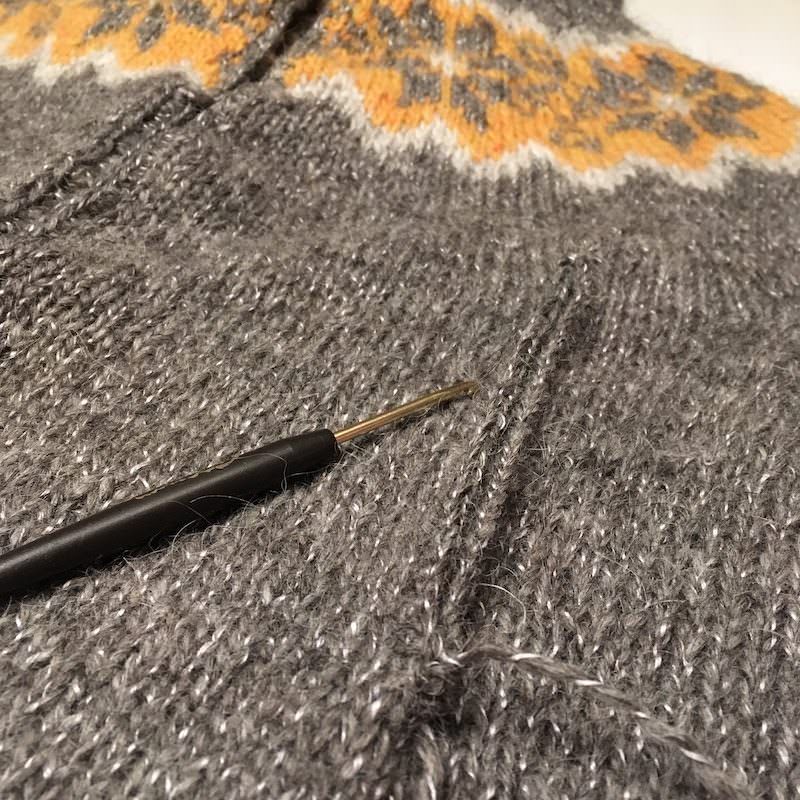
The last bit of crochet is around the thumbholes.
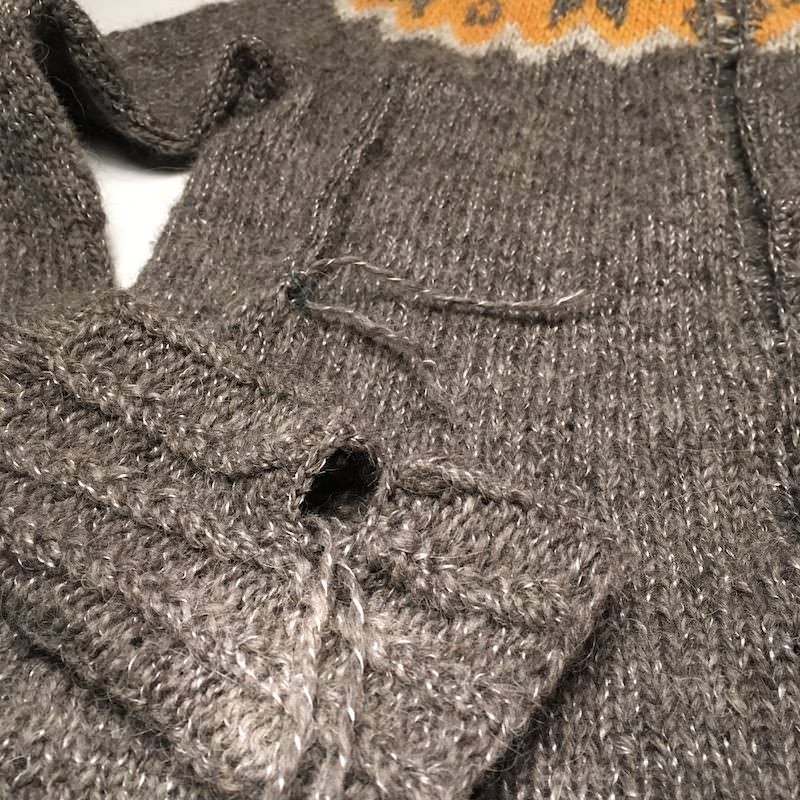
Here is a video when I cut the pocket steek!
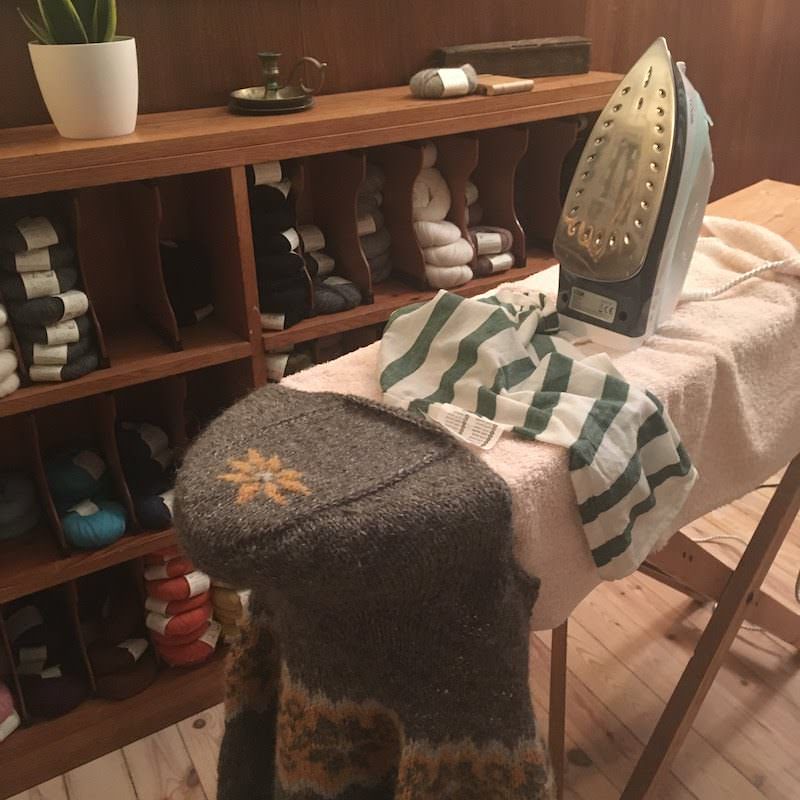
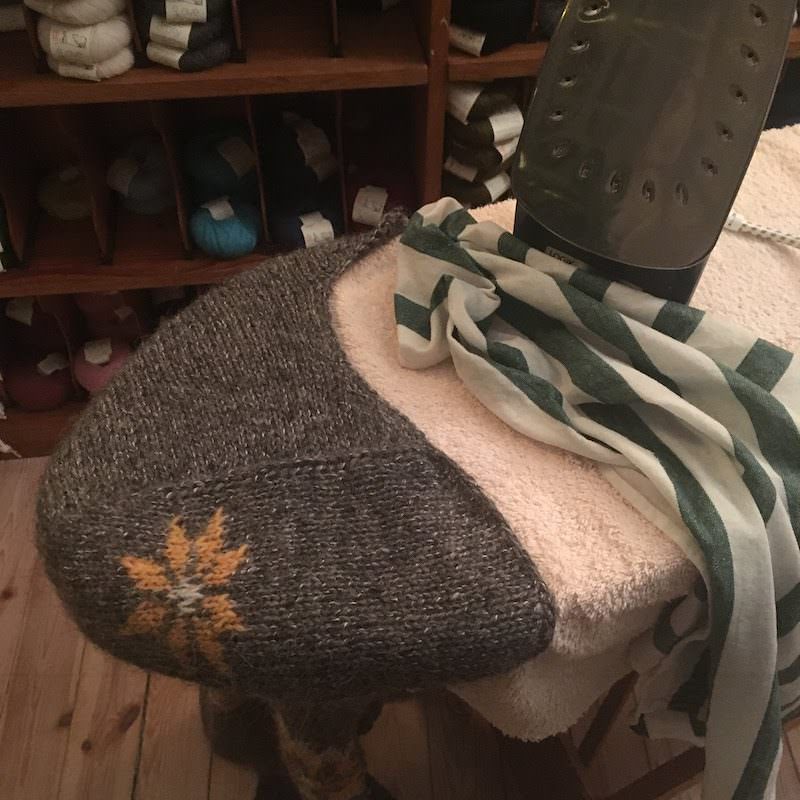
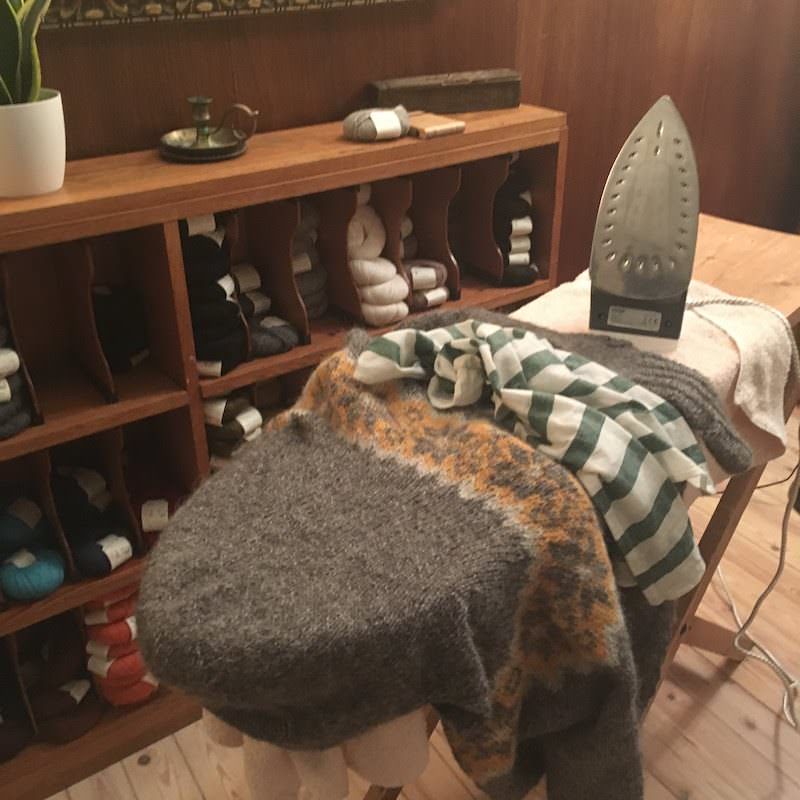
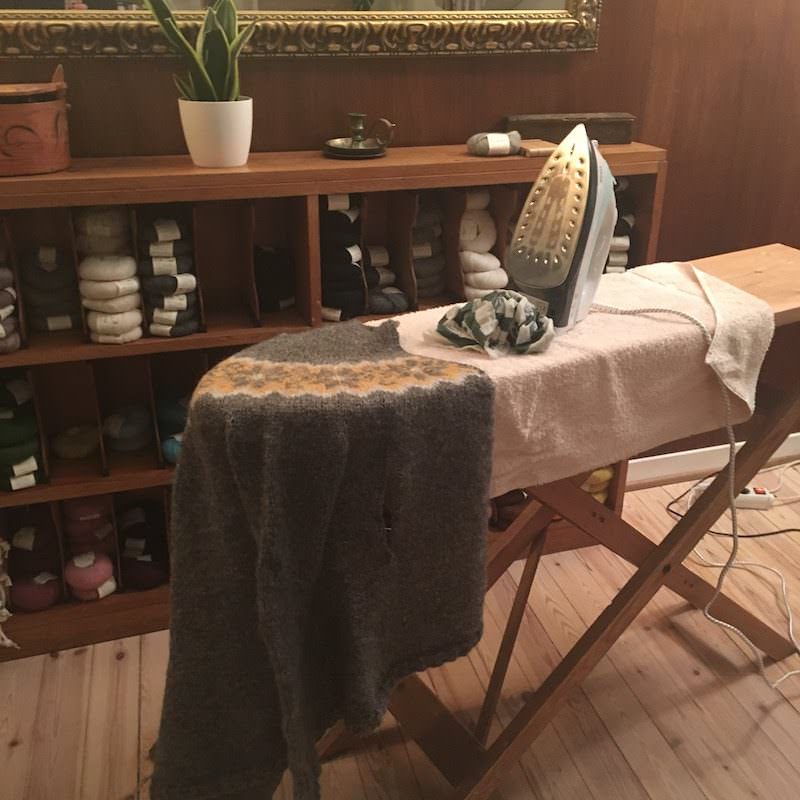
And now more blocking: I don’t have a steamer so I use a hot iron and a (very) damp cloth. I especially steam the crocheted edges (the fronst, the pockets, the thumbholes), the hood and the yoke motif.
Last is to sew the zippers on.
First the long zipper at the front. With the zipper closed, I pin it first at each end, then pin all along the edge.

Both sides are pinned and the zipper is now opened.
Make sure that the yoke motif is well aligned.
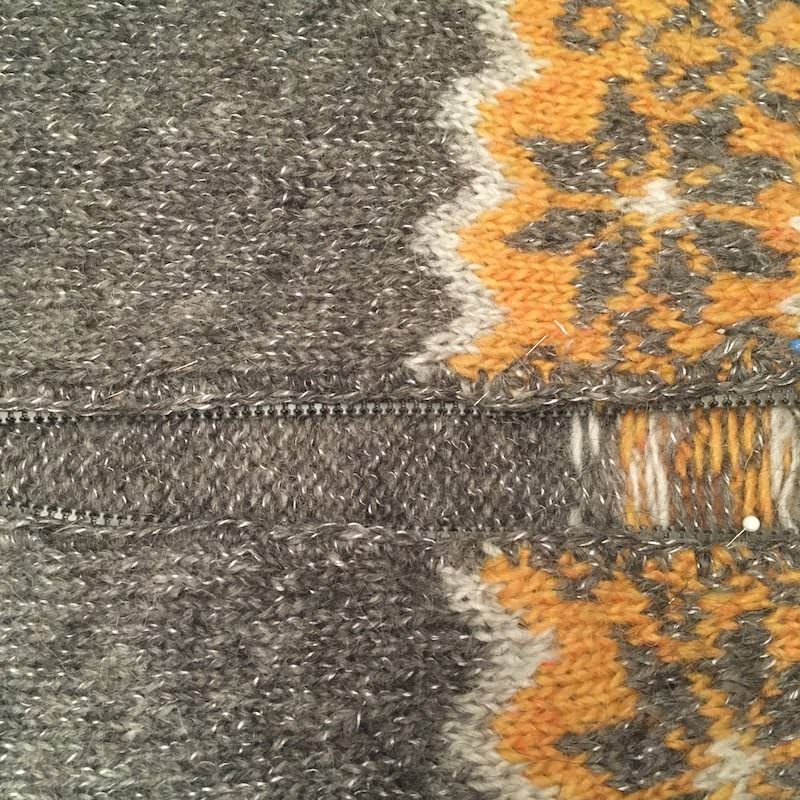
I secure the zipper in place with a back stitch along the crocheted edge (some use a sewing machine, I do it by hand). Here is a video:
Then a whip stitch on the inside to secure the other edge. Here is a video:
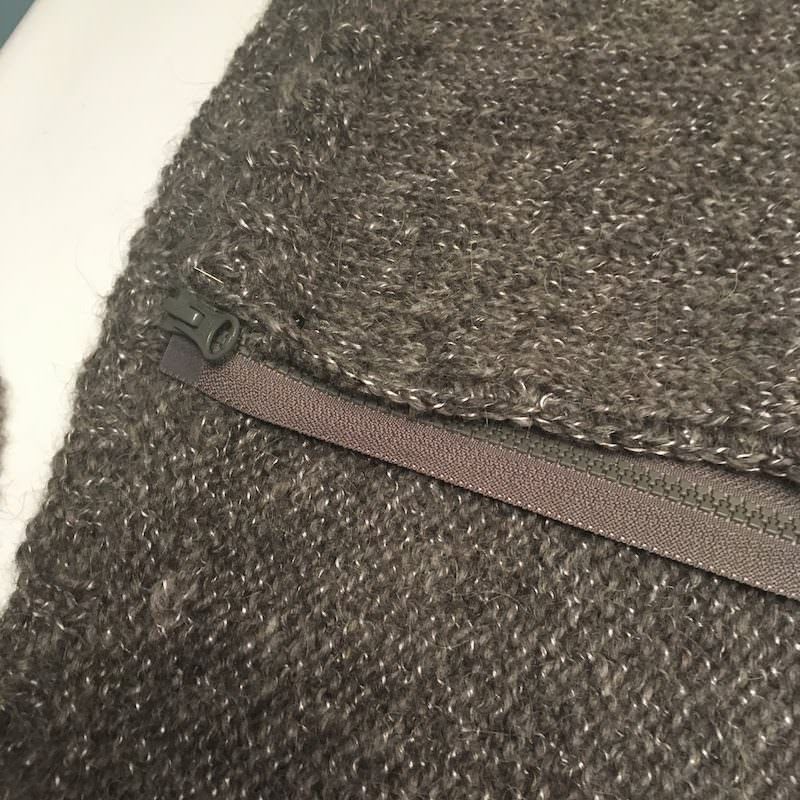
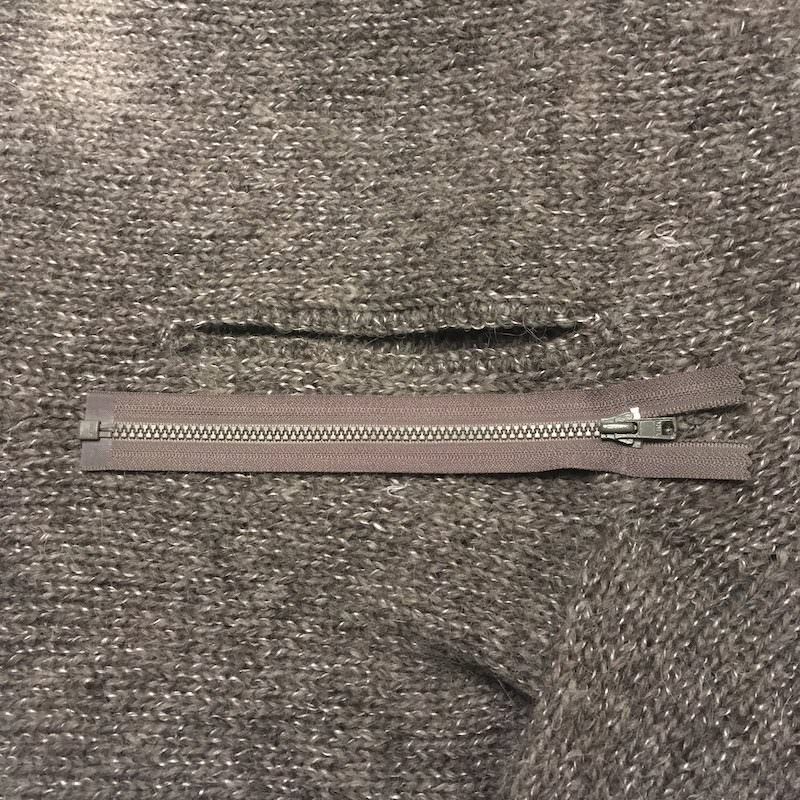
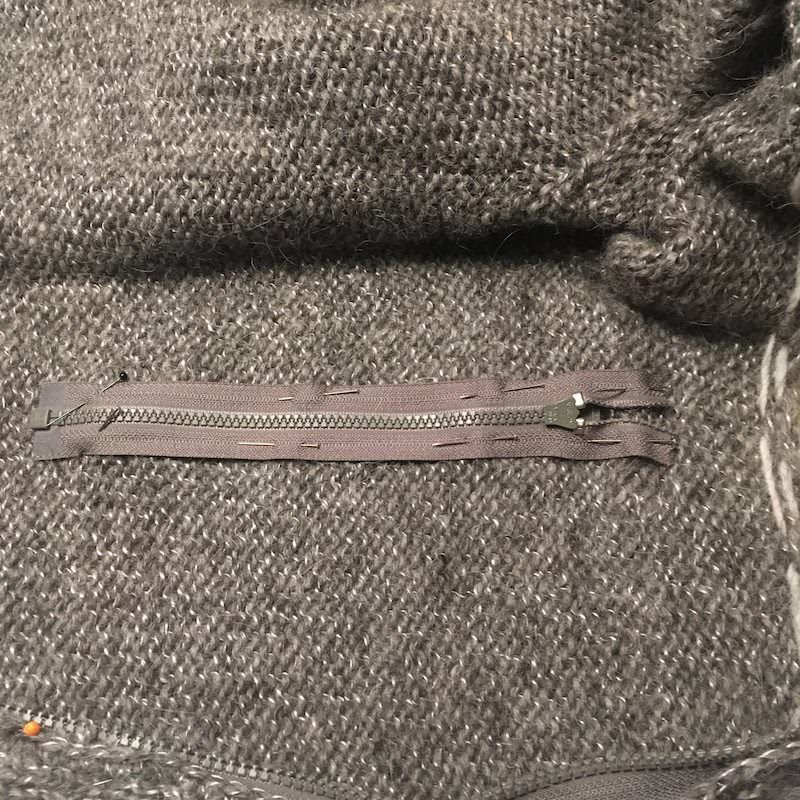
Now come the pockets: the opening is shorter than the standard small zipper with a down stop in the commerce. (note that I couldn’t find any zipper of the right color with a down stop, so I had some longer ones cut).
I first pin it in place on the wrong side above the opening.
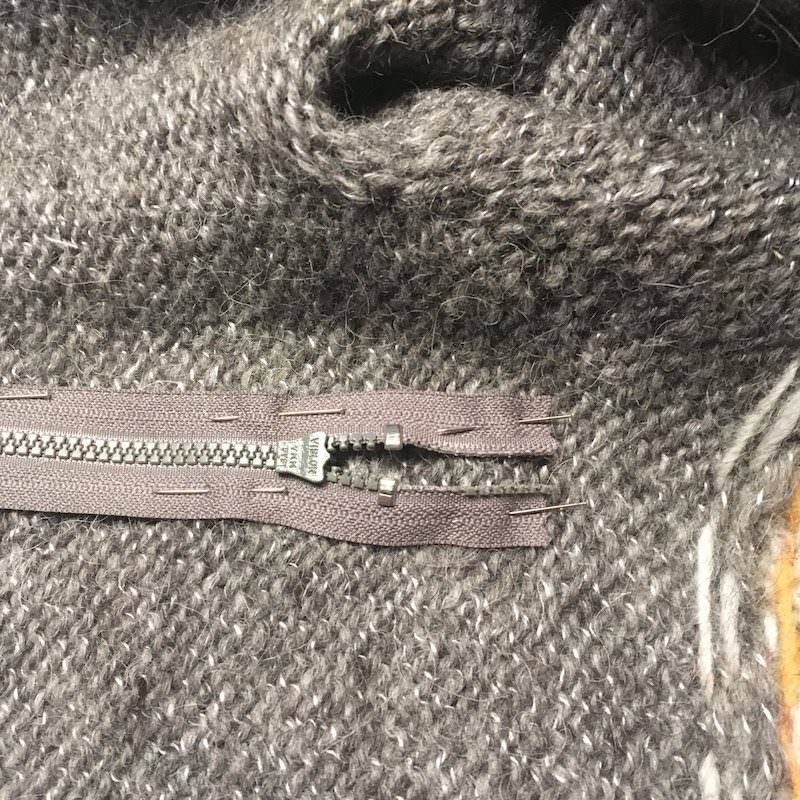
From the right side, I make sure it is well positioned and put the slider outside (thus opening the zipper a bit).
Showing the wrong side again: when the slider is in correct position and the zipper a bit opened.
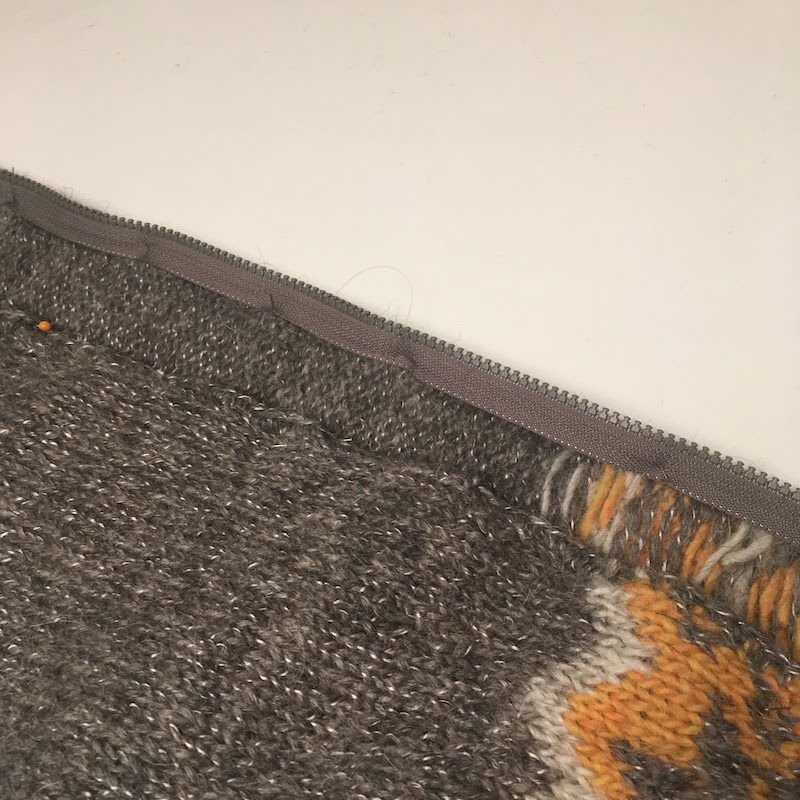
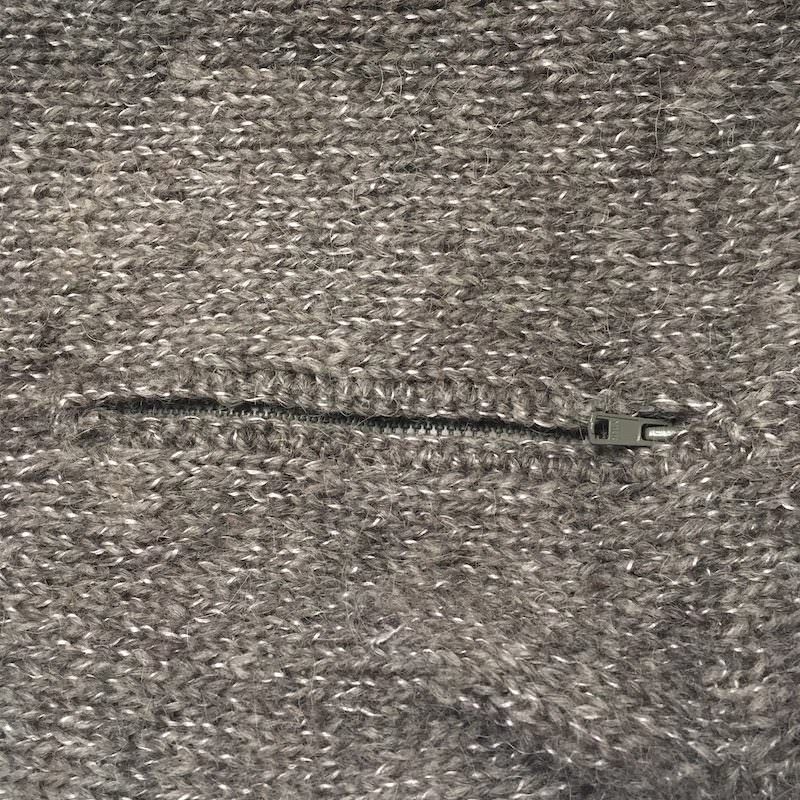
The pocket zipper is then sewn in the same manner than the front zipper, with a back stitch and a whip stitch: here under I’m just about to start the whip stitch.
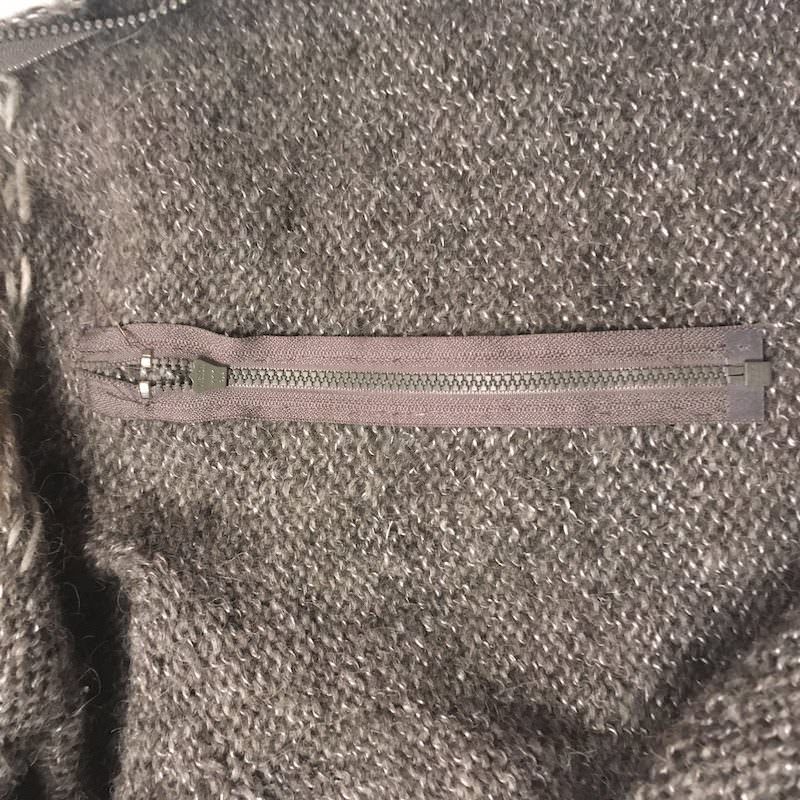
Here is the zipper sewn in place.
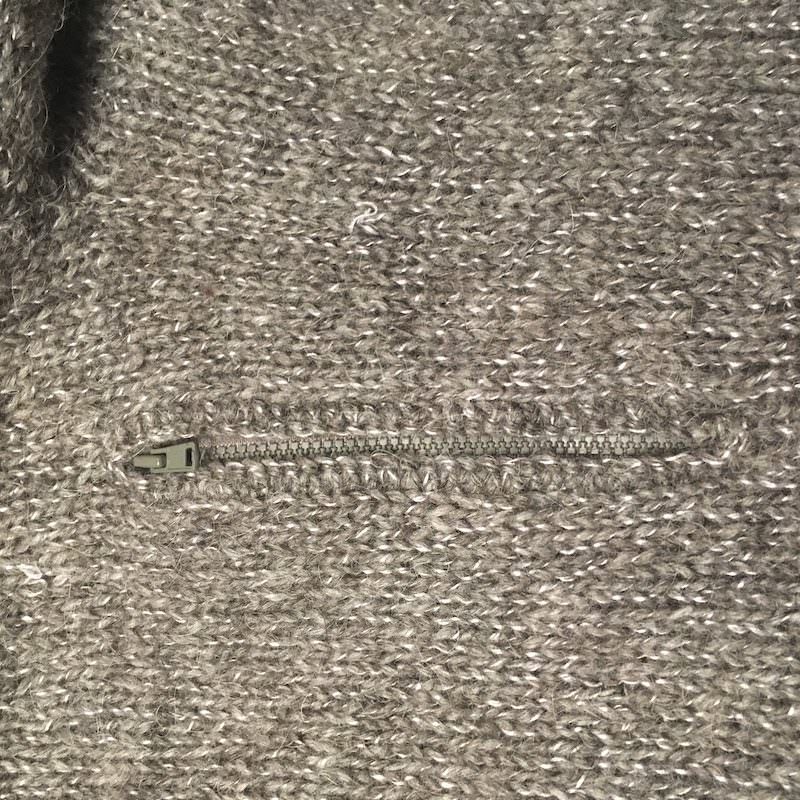
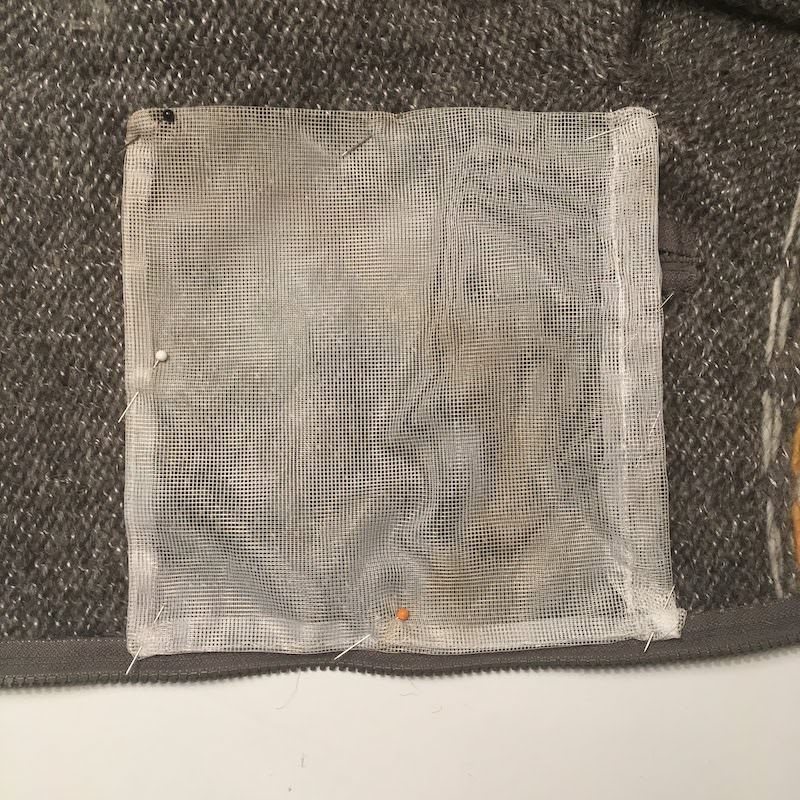
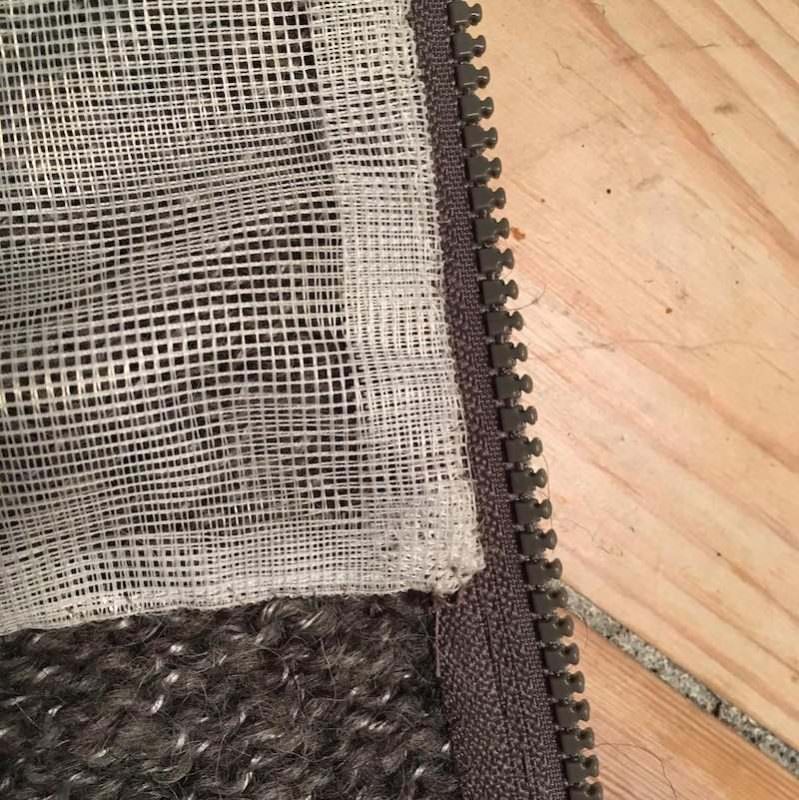
The very last bit is to sew on the back of the pocket on the inside of the sweater. Make sure it covers the zipper opening entirely.
I use a light fabric (so it doesn’t add weight and pucker on the knit fabric), and I always avoid cotton in the mountains (it’s cold and if it gets humid, it doesn’t dry). I found that the laundry bag mesh fabric is a good and cheap option. But of course, you can use any suitable fabric.
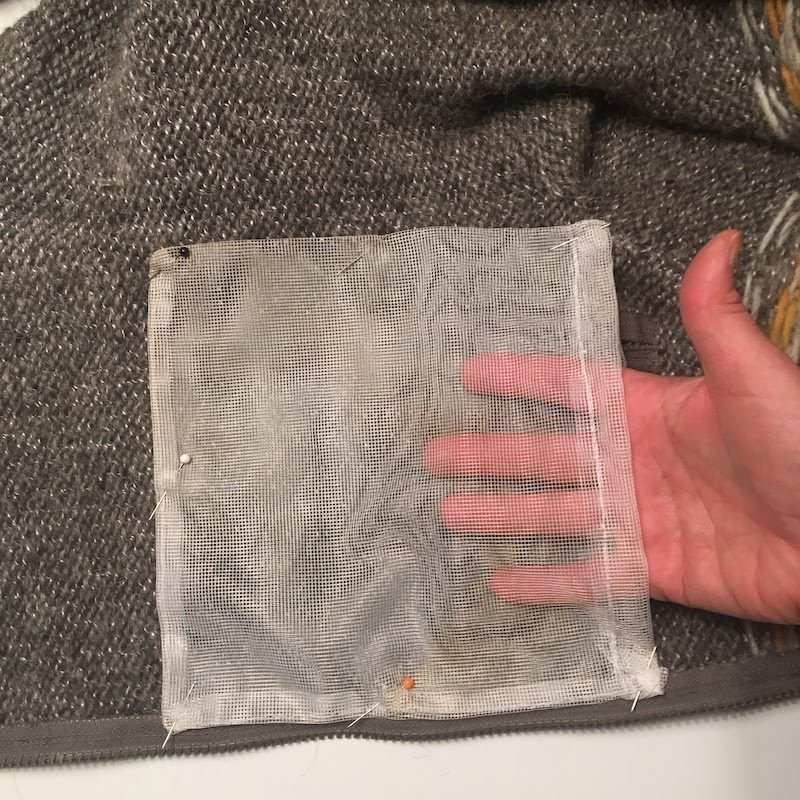
There are two options: either sew a simple square. The pocket is accessible from the outside of the sweater.
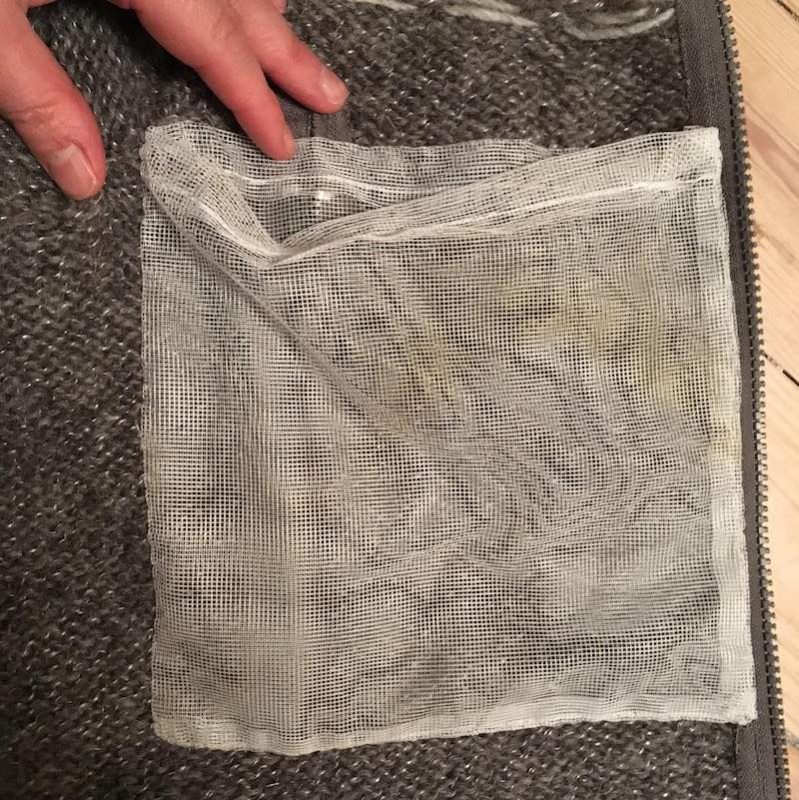
Or sew a pocket made of two pieces of fabric folded together, with the opening facing up: this makes a double pocket, one accessible from the outside of the sweater and the other from the inside.
I also use a whip stitch to se the pocket on its four edges. Here’s what it looks like:
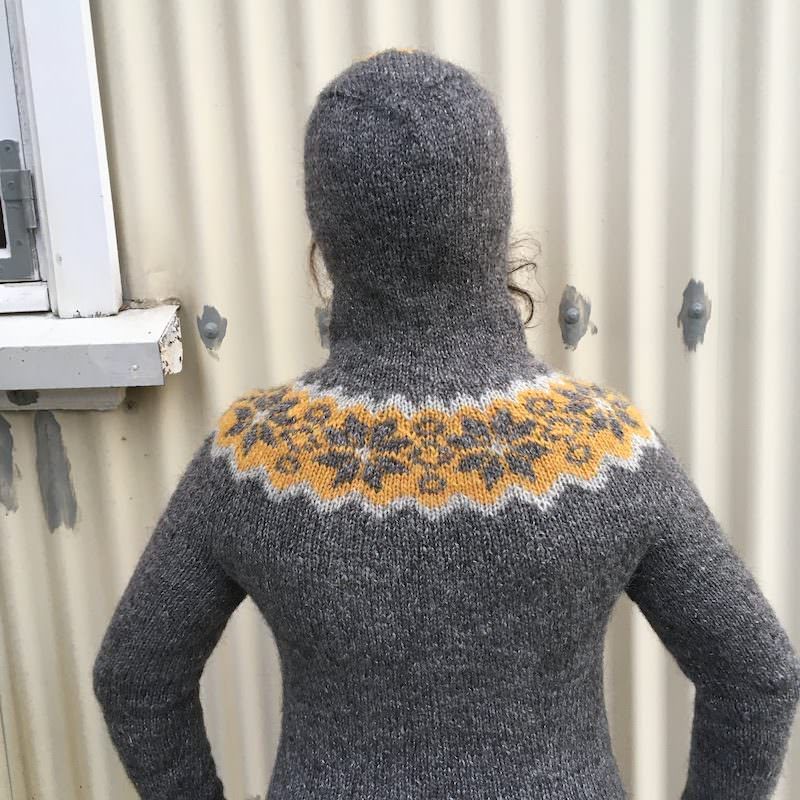
And now waiting for a better weather and a bit of light so I can take showable pictures of the finished grellow Útivist…
I hope that you find all these tutorials helpful! Enjoy the outdoors with your Útivist sweater!
EDIT: done! More pictures here!
