


Dec
Knitting tip & techniques, KAL
Útivist KAL (2)
Here is the part 2 of the #utivistkal tutorials. Don’t forget to tag your projects with #utivistkal #utivistsweater on instagram so I can find you! The first tutorial is here, the 3rd one here and the 4th one here. The pattern can be purchased here on my website or on Ravelry and the KIT is available here on my website in different colors.
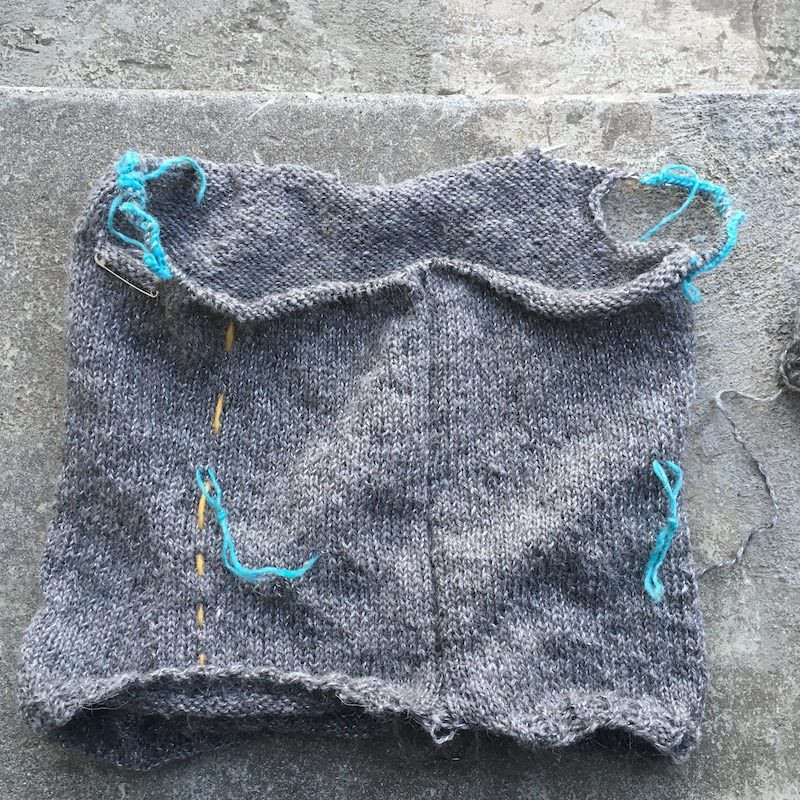
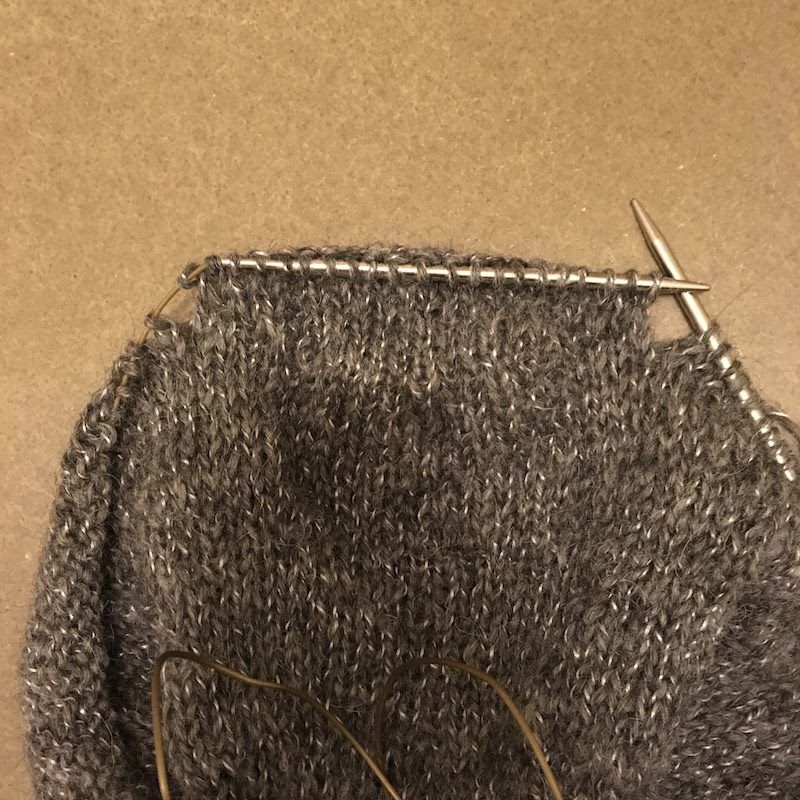
I finished knitting the body with waist shaping: I used the yellow strand of yarn to mark the number of rows between decreases/ increases and I marked the beginning of the pockets with a piece of blue yarn. In the center my two purl steek stiches.

Then underarm stitches are placed on a stitch holder – or a safety pin in my case.
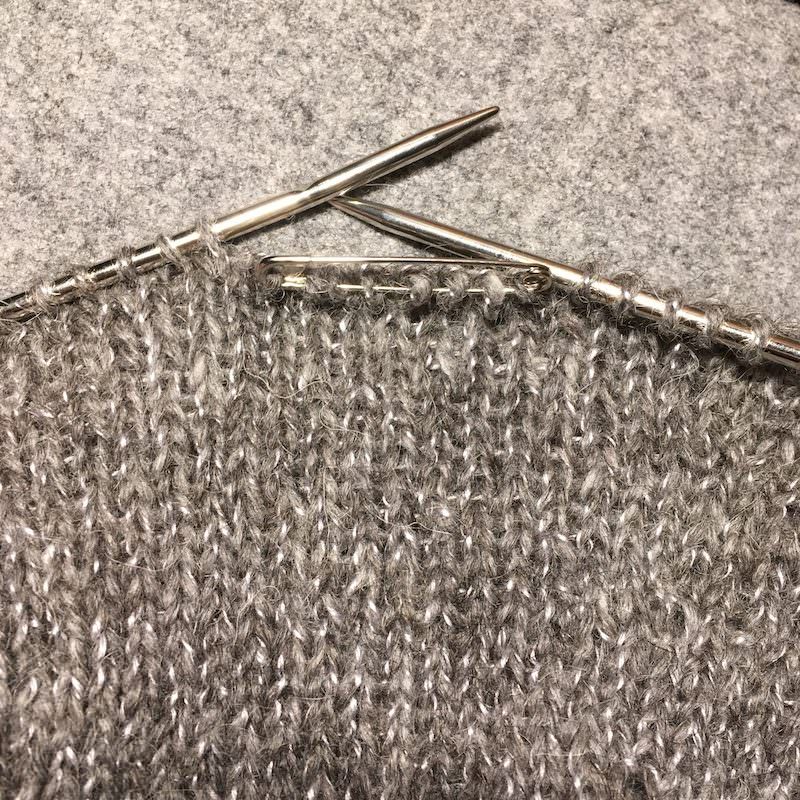
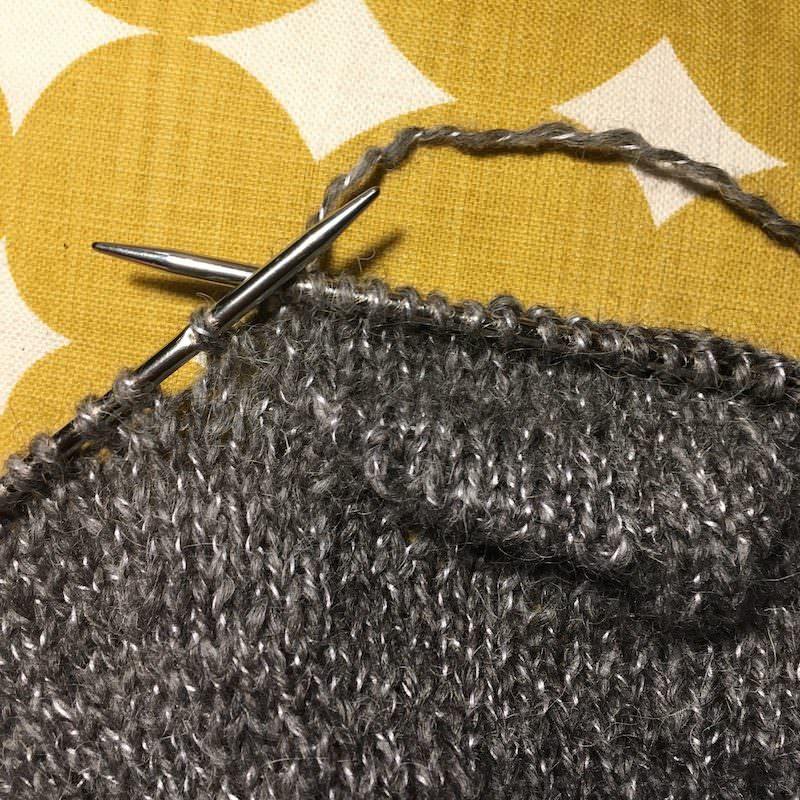
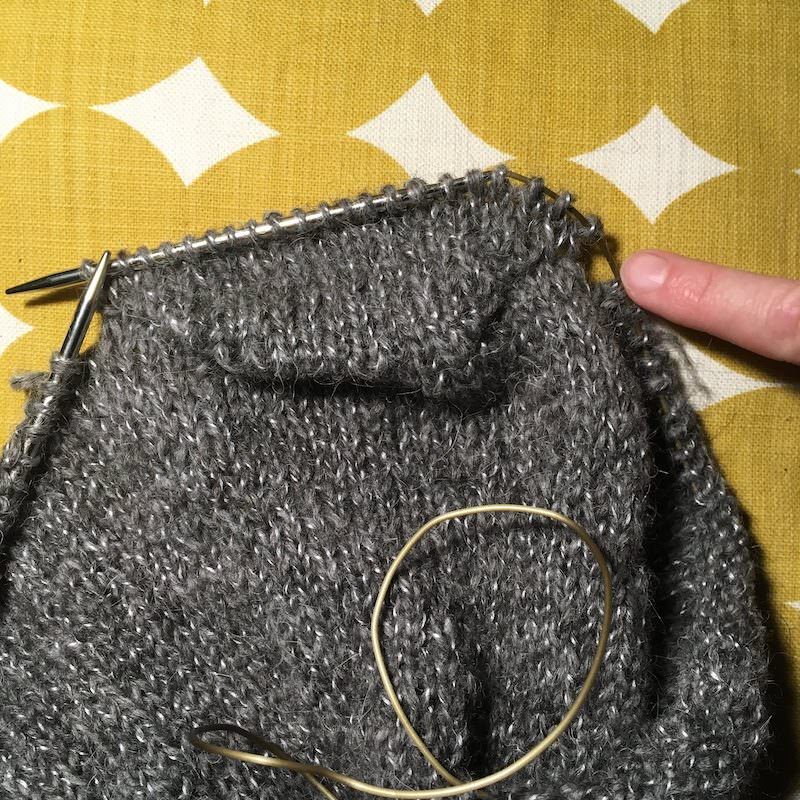
And the back is knitted higher up. The tail shows where the first row is and where from to count the number of rows knitted higher.
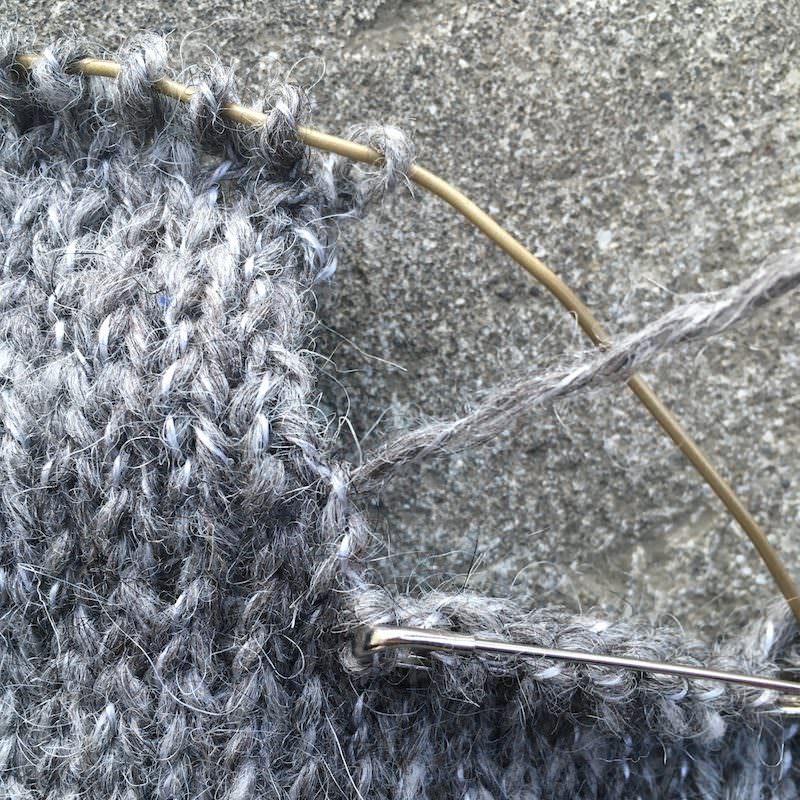
I do the provisional cast on on the left needle so I can knit the stitches directly from it. For the provisional cast on, see the tutorial here.

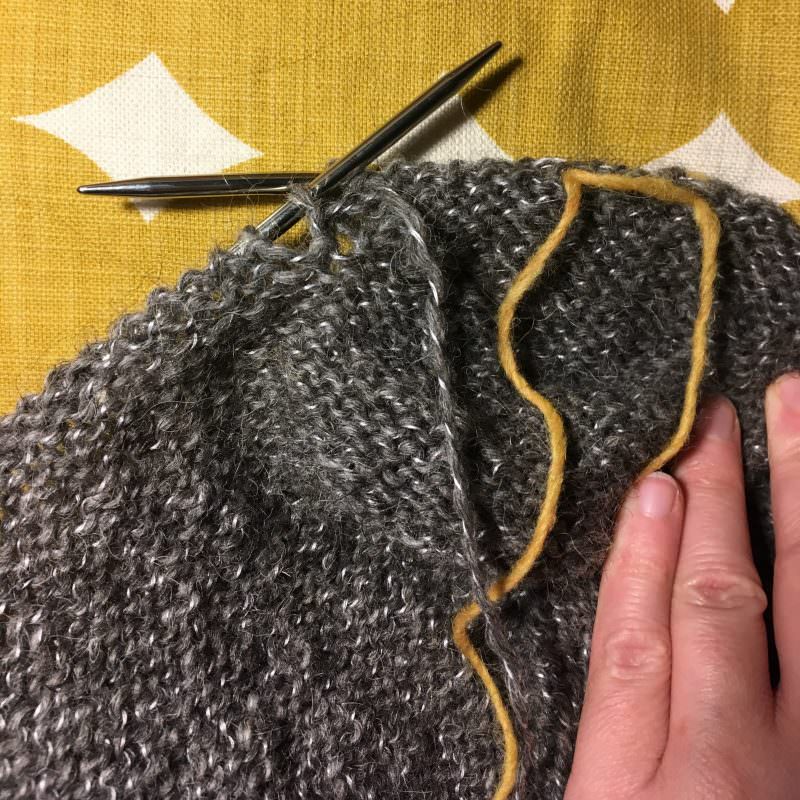
Here what it looks like when both shoulders have been worked.
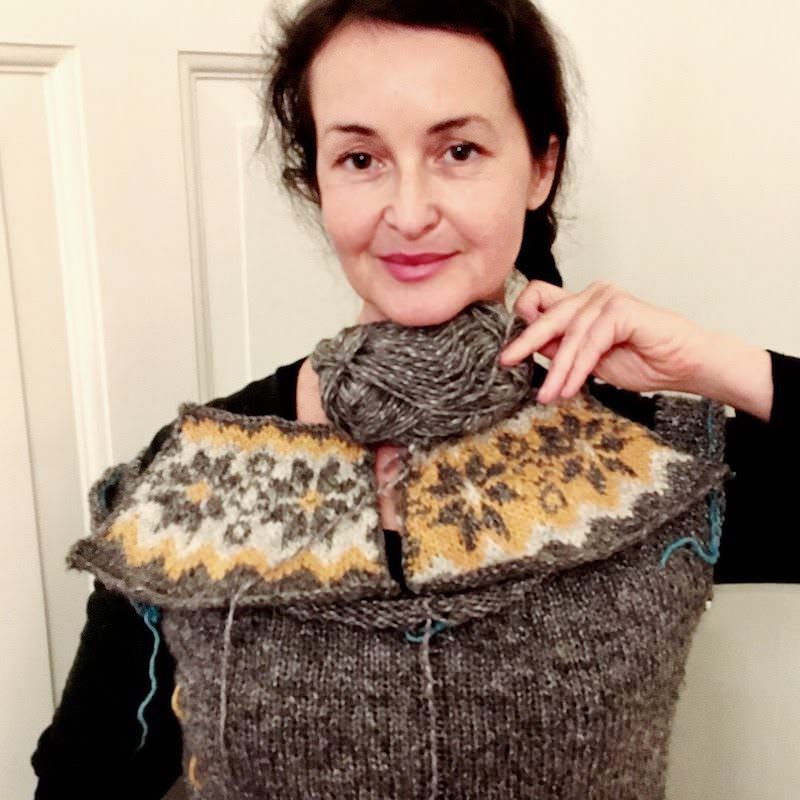
And now is to knit the yoke in stranded knitting. Your preference on my Instagram post seemed to go for the light grey background, but after much hesitation, I decided to go for the yellow less classic combination. If you have ordered the Grellow kit, you can do either one!

And then comes the hood, with at some point the making of a short row. Working to the end of the short row then working 1 more stitch, making the short row longer…

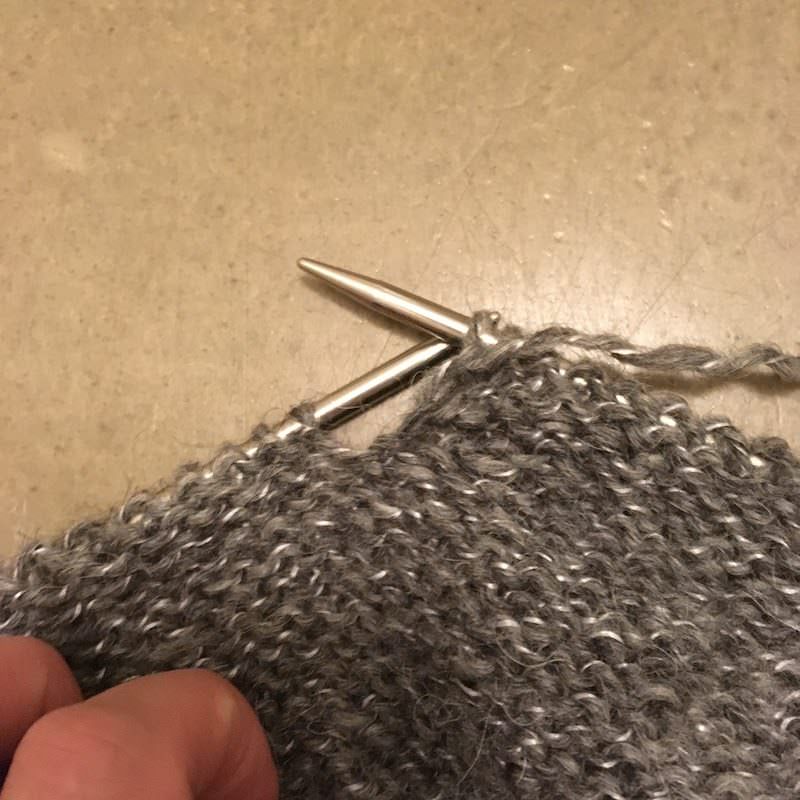

… and so on, until your reached the required number of 21 sts.
And yes it looks like you’ve just turned a heel at the back of your head!
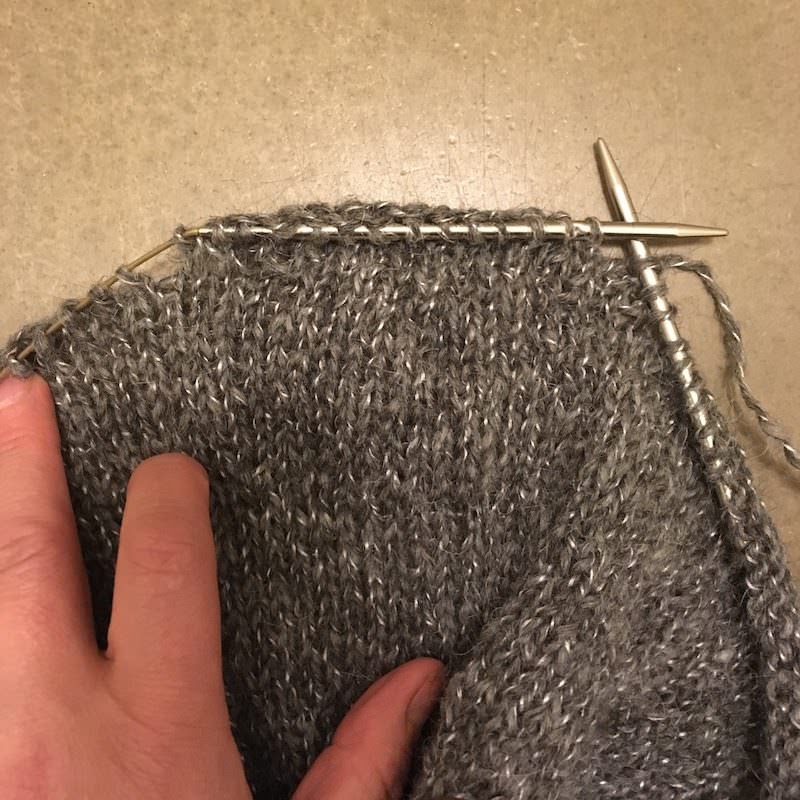
Then comes the shaping of the top of the hood: working the short row back and forth and knitting its first stitch and its last stitch together with the live stitches on either side until there are no more.
Showing it here on right side of work: working the last stitch of the short row together with the live stitch on its left (ssk before turning).
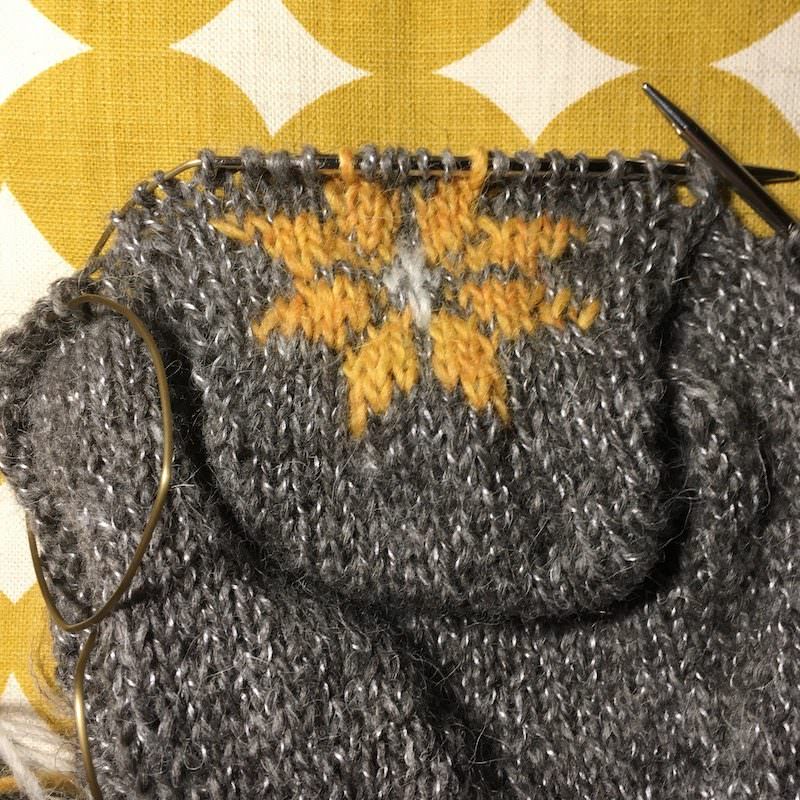
And at same time the addition of the intarsia rose adds to the fun! Here showing the wrong side of the work, doing the intarsia and working the last stitch of the short row together with the live stitch on its left (p2tog before turning).

Now the intarsia is done and I continue working the short row back and forth and knitting its first stitch and last stitch together with the live stitches until there are less and less live stitches on the sides …
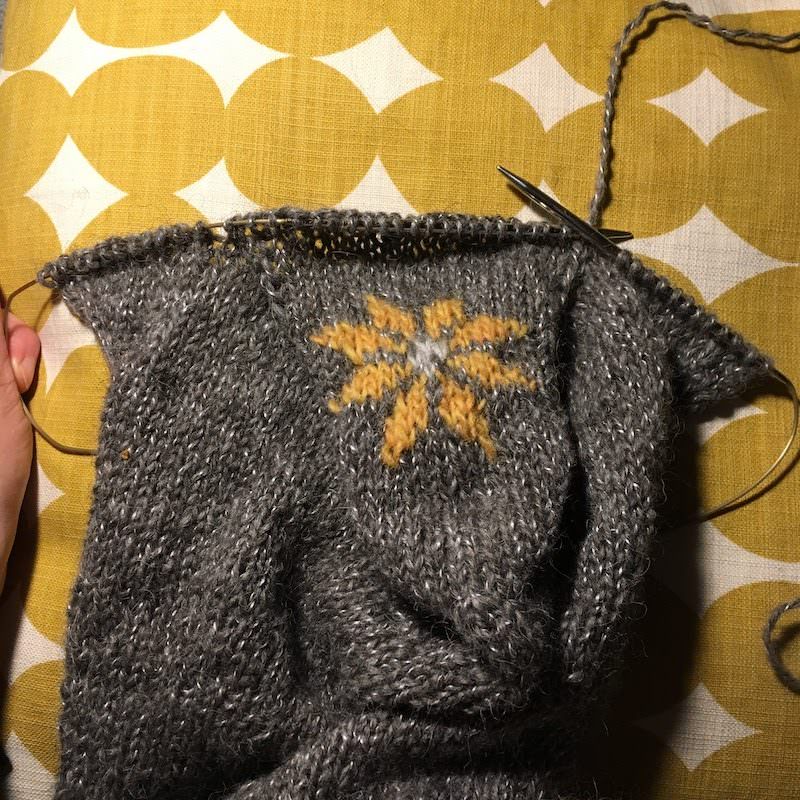
…and less…
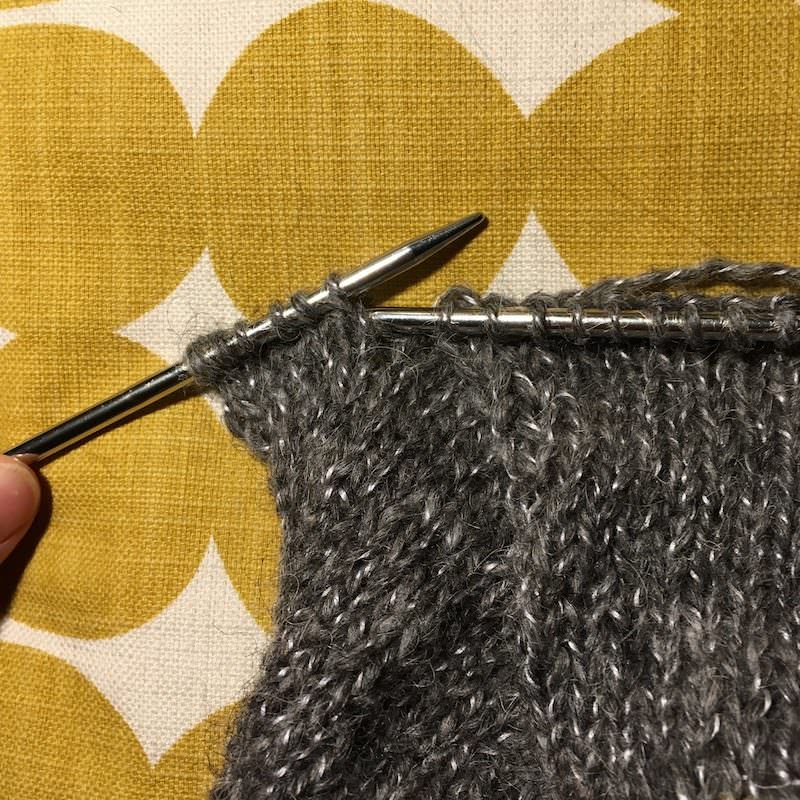
…and less…
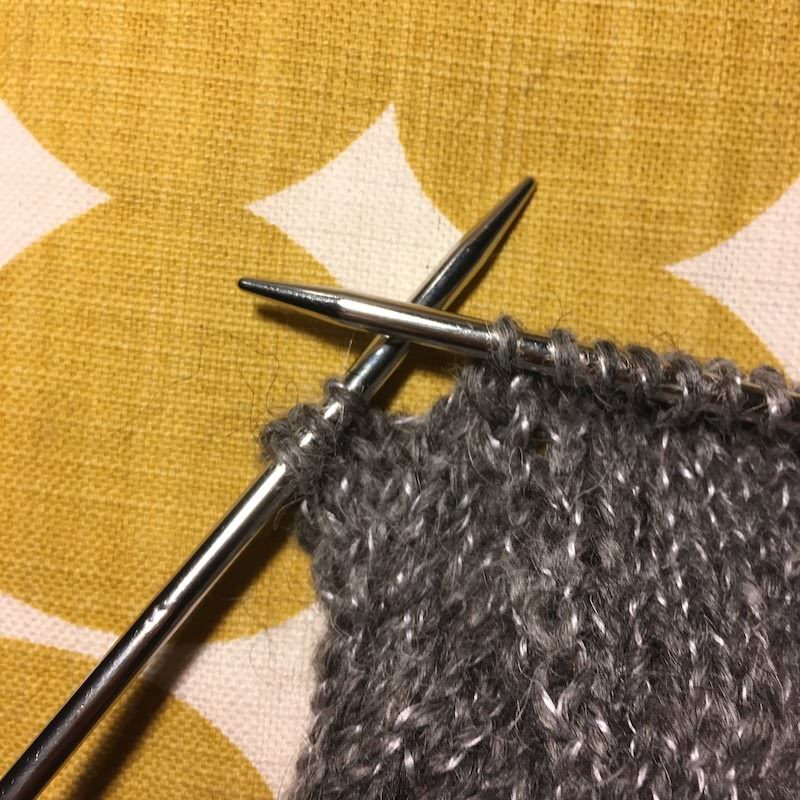
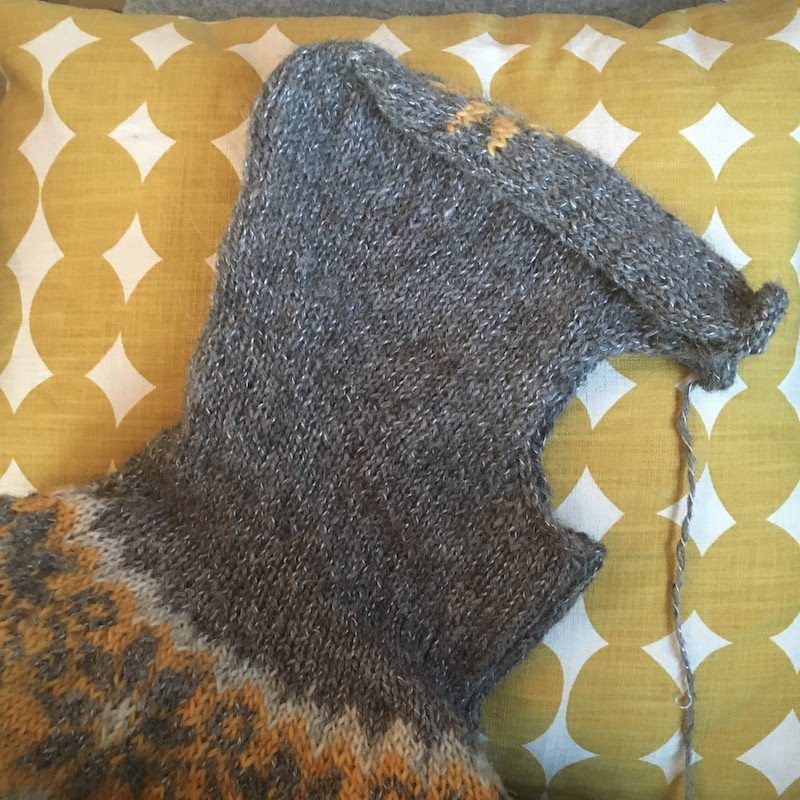
…and no more! Then bind off and hood is done!

At that point the hood looks kind of weird… it’s normal! It just needs blocking!
See you next for working the sleeves!