


May
Knitting tip & techniques
Steeking part 4: sewing a ribbon
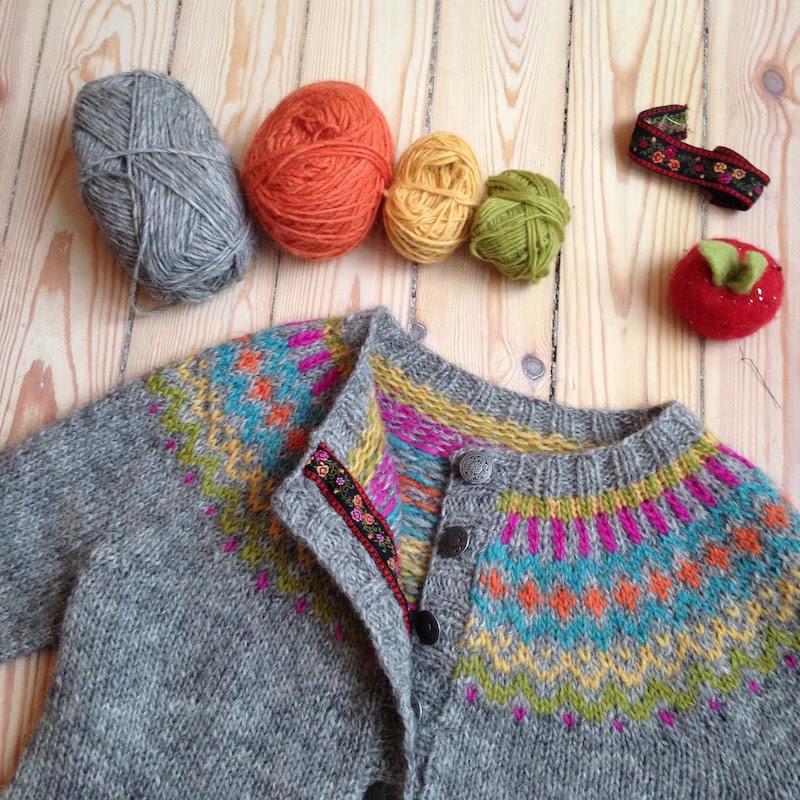
“Next I will show you how to add a ribbon to hide the steek” This is how my post where I steeked a Gamaldags lopapeysa ended in… 2017! It was about time to show it to you! So here we go. Note that the directions on cutting and pinning are suitable for a zipper as well (only the sewing and placement is different). I added useful links at the end of this post.
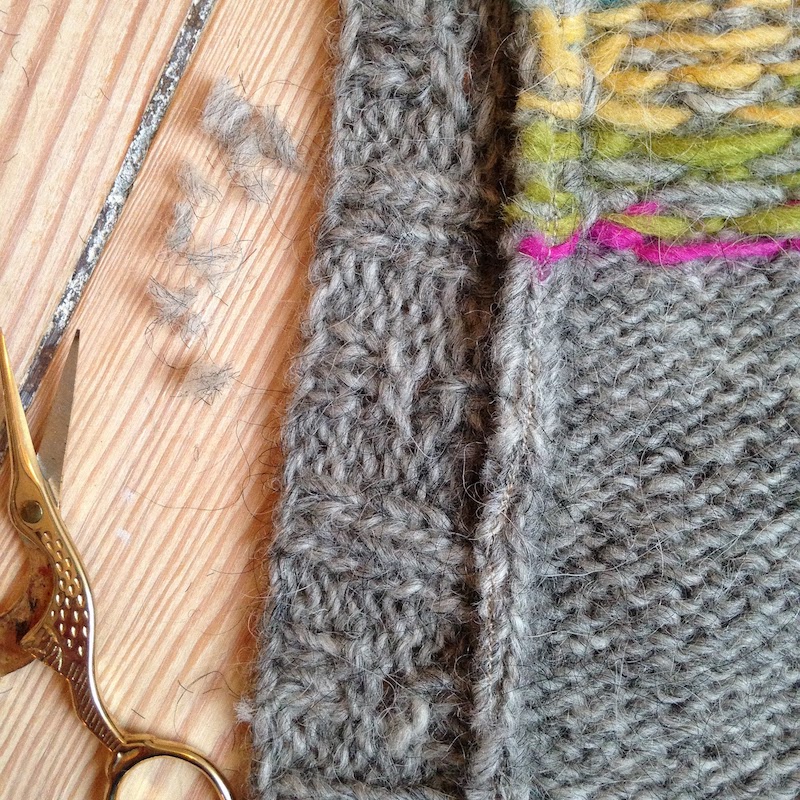
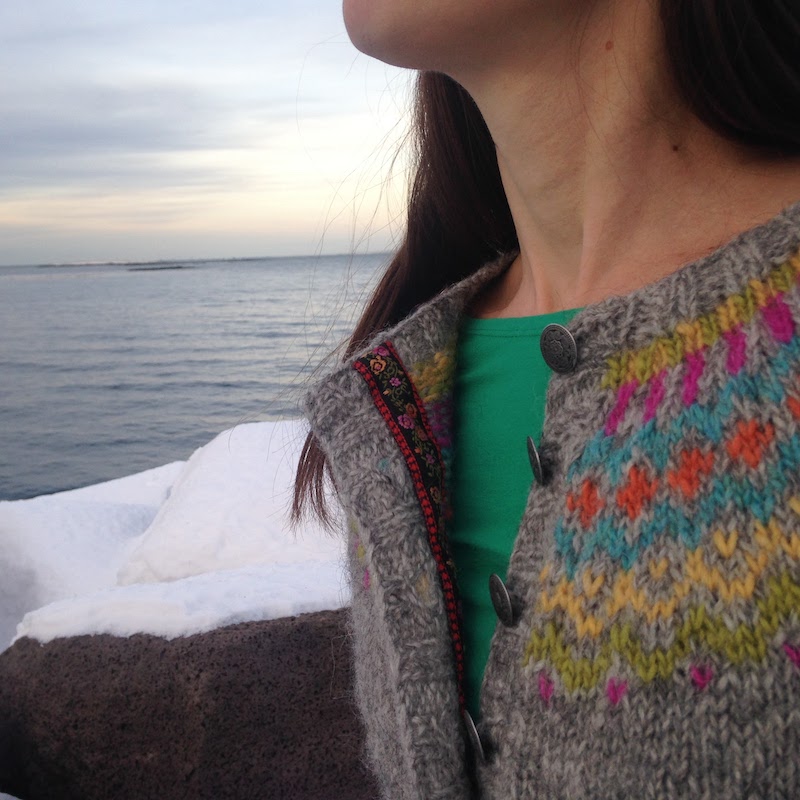
There are different ways of finishing a traditional Icelandic steek. Once cut you can crochet around the edges, hiding the steek completely (for an example see this post). If you pick up and knit stitches along the edges of the cardigan however, the little fringe from the steek will stay visible on the inside and you may want to hide it with a nice ribbon.
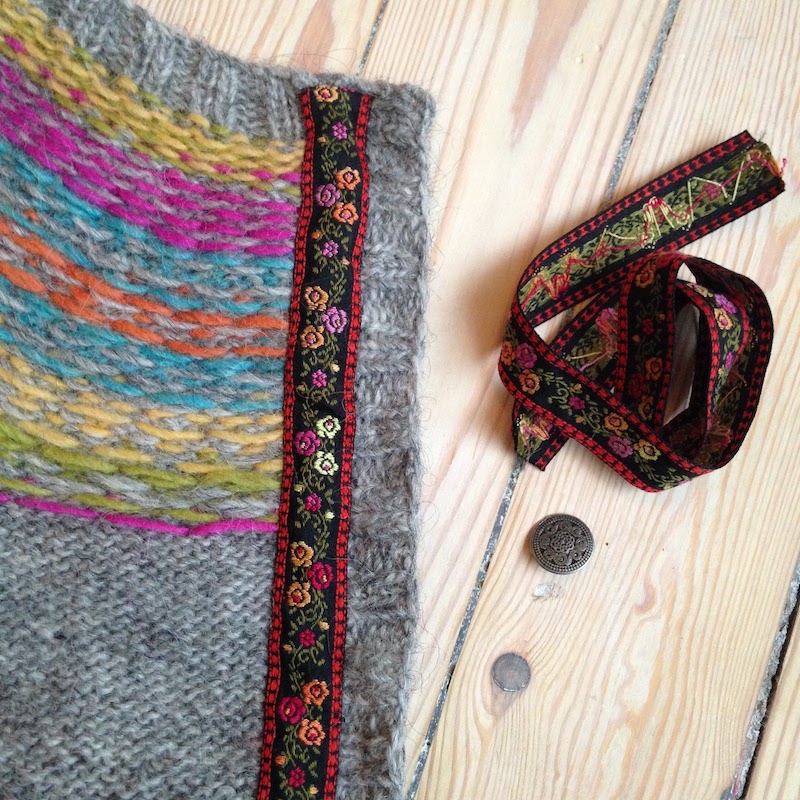
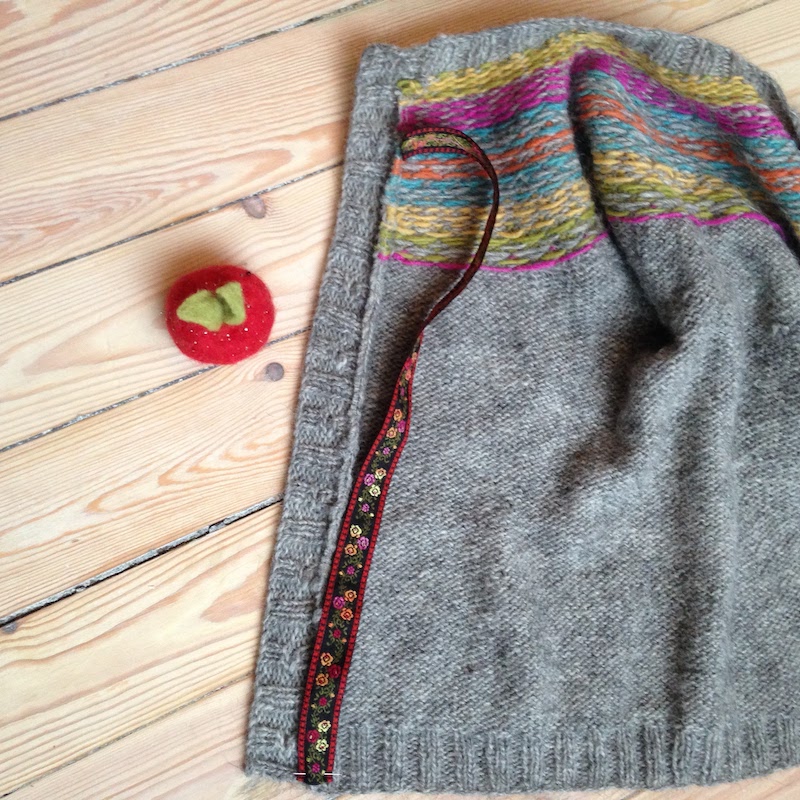
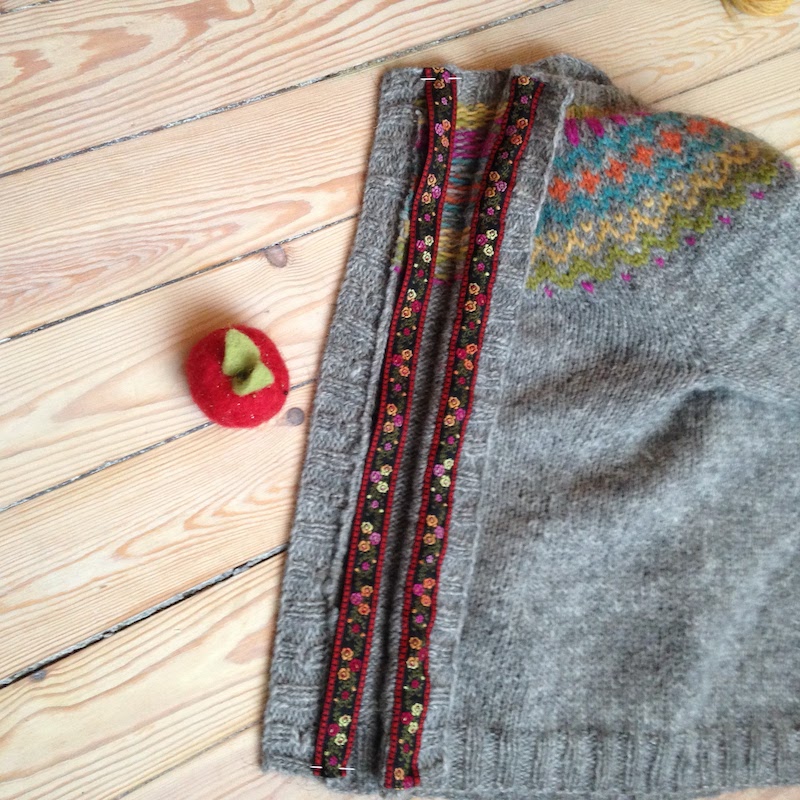
Once my sweater is blocked, I lay it flat and carefully measure the length with a tape measure and cut two pieces of ribbon of the exact same length (with a little extra that is folded to hide the ribbon cut edges). Note that I will usually sew the ribbon before I sew the buttons on, to make sure to be working from a flat surface. It is important to follow this order: measure first, then pin. Otherwise there is always a risk to stretch a little bit the sweater while pinning and this will end up with a very unflattering undulating band.
I usually trim the steek a little bit if needed, to avoid any extra layers and also if my ribbon is on the narrow side.
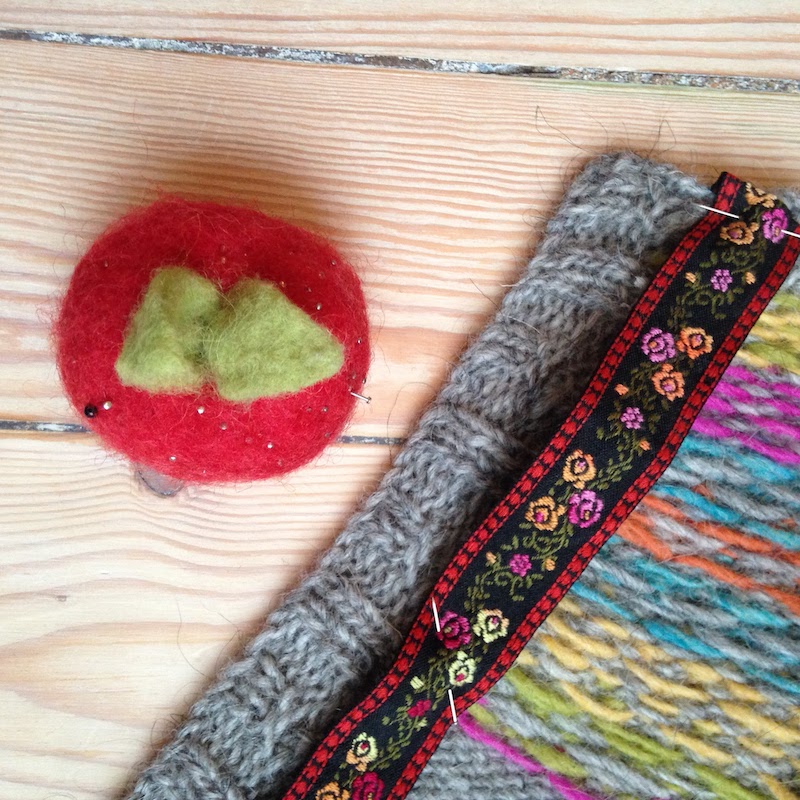
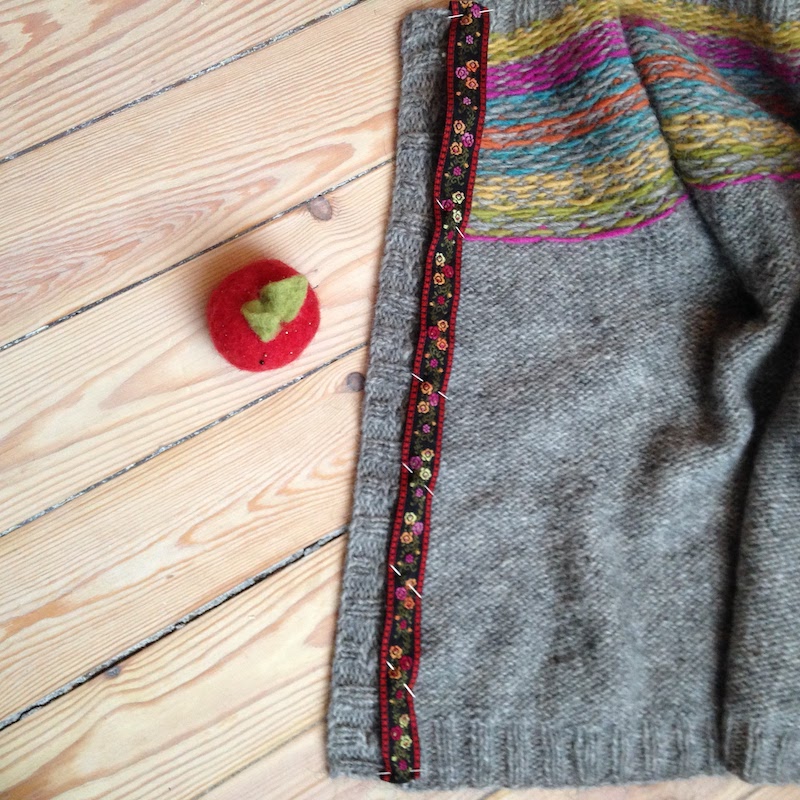
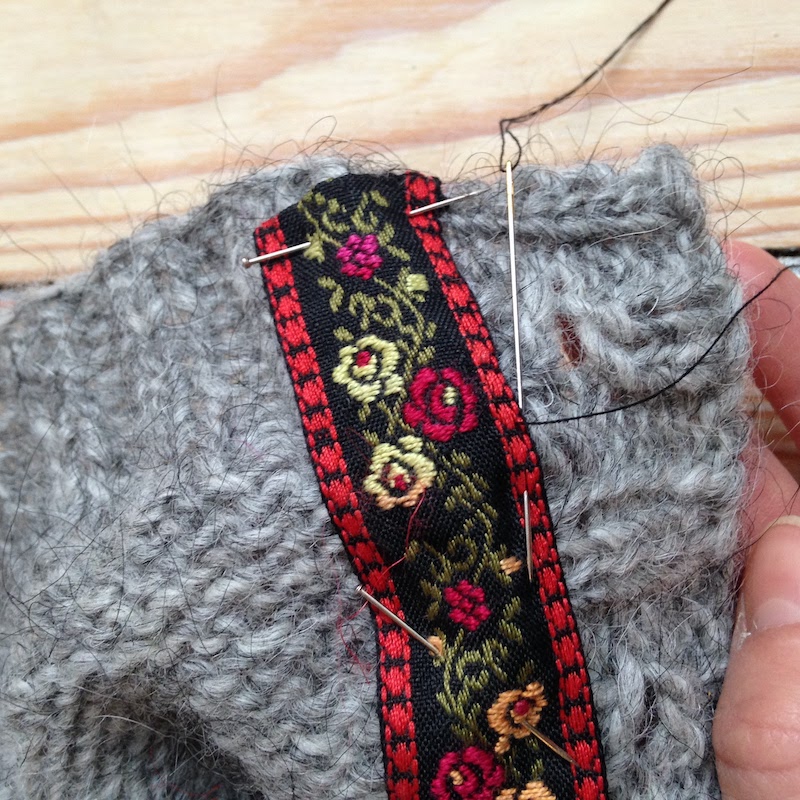
I pin the ribbon in the center of the steek making sure that the button holes are not covered but that the little fringe from the steek is. I start pinning on each end (at the neckline and at the bottom ), then in the middle, then in the middle of each half, and so on. Once pinned, it may look like the ribbon is on the short end and the band is slightly thrilled but once sewn it will be completely flat, I promise.
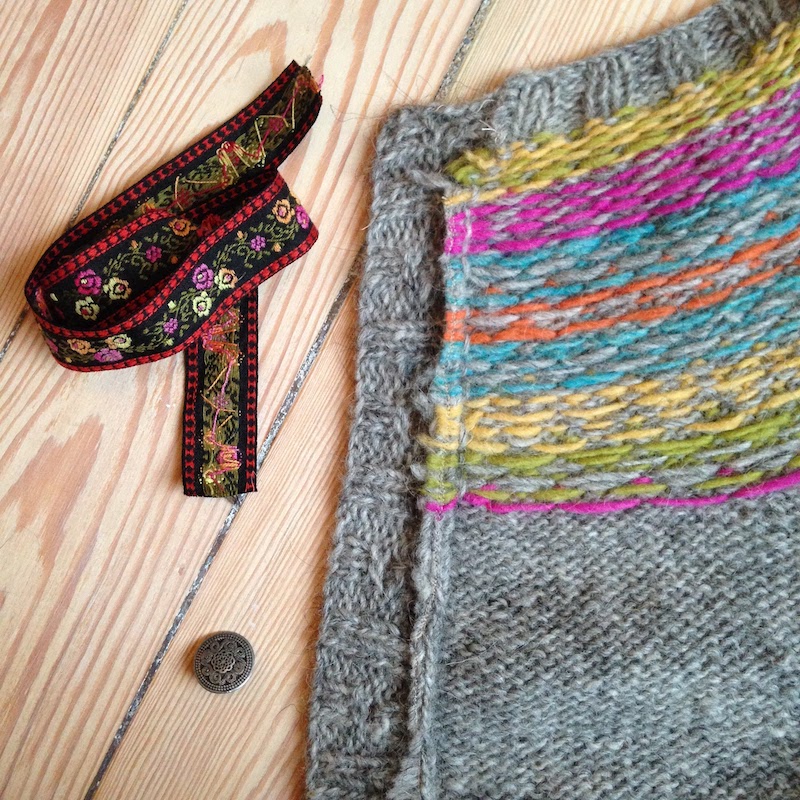
I start sewing the ribbon on the ribbed band side. I use a neat invisible fell stitch, going through the top layer of the knitting fabric so it doesn´t show on the right side.
To do the fell stitch: anchor thread. Working right to left, pass needle through the top layer of the knitted fabric to make a stitch approximately 5 mm (1/4″) long. Bring the needle out through the ribbon. Enter back into the knit directly behind end of previous stitch to make another stitch.
When sewing the other edge of the ribbon, sweater side, with a fell stitch as well, make sure that the ribbon is completely flat and doesn´t make a bulge. Sometimes I will steam my ribbon to make sure there is no protuberance.
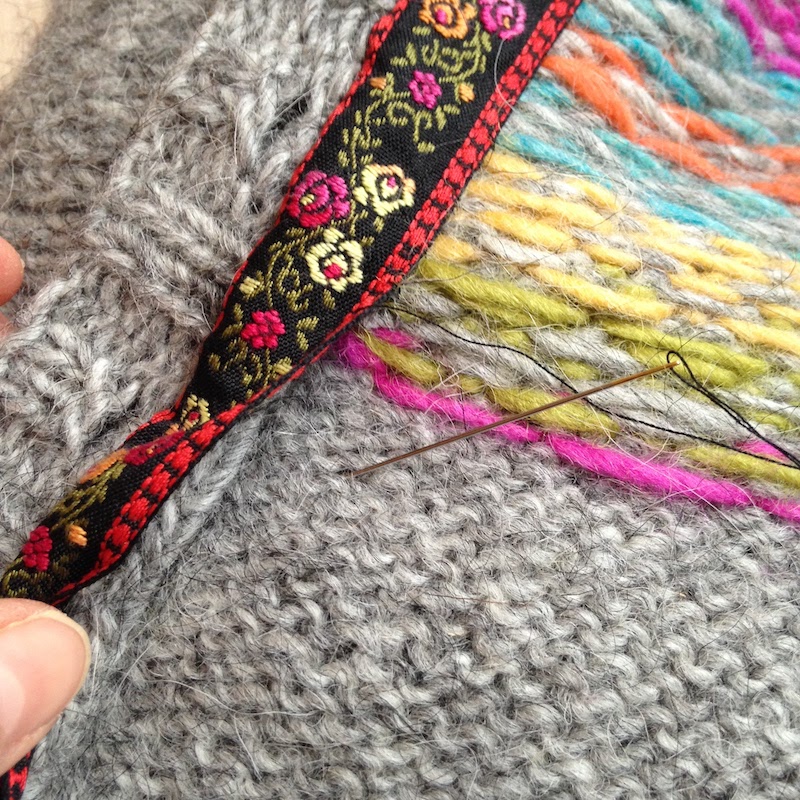
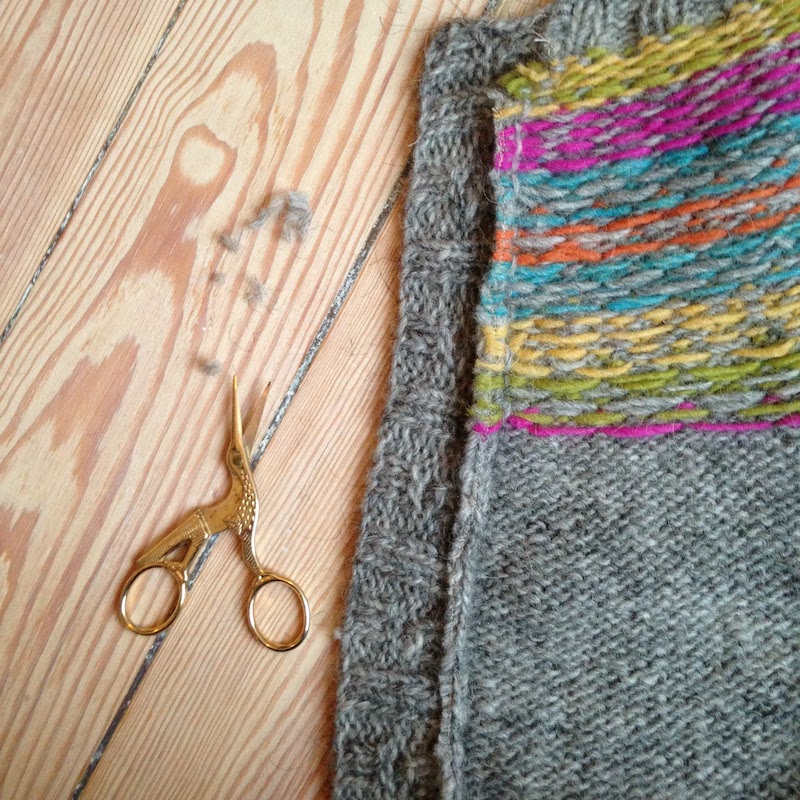
Then I do the same thing on the other band, making sure they match perfectly.
Hope you find those helpful!

Useful links
- Tutorial: Traditional Icelandic steek
- Tutorial: A soft alternative to Léttlopi
- Tutorial: Working with unspun plötulopi
- Gamaldags pattern PDF
- Gamaldags KIT