Knitting tip & techniques
Traditional Icelandic steek on my Gamaldags lopi sweater
Steeking means cutting into a knitted fabric, for example cutting into a sweater at the front to open it make it as a cardigan. Steek comes from Scandinavian and means stitches: some extra stitches are added in which one will be able to cut.
There are many ways to do steeks but in Iceland, because the lopi sweater is a relatively recent invention dating back to the 1950′s, we traditionally steek our lopi sweaters by using a sewing machine. We usually add two steek stiches, sew a seam in each of those stitches with a short straight stitch (no zigzag as it could be caught into the fuzzy lopi wool) and cut in between. We usually purl those steek stitches: the sole purpose of this purling is to mark the stitches, so we can see them and cut straight!
I’ve already posted tutorials about steeking, here and here. This third one includes videos and give you a few of my useful tips. It is illustrated on one of my favorite lopi sweaters, Gamaldags, that I knitted for my sister-in-law. Here is the finished sweater:
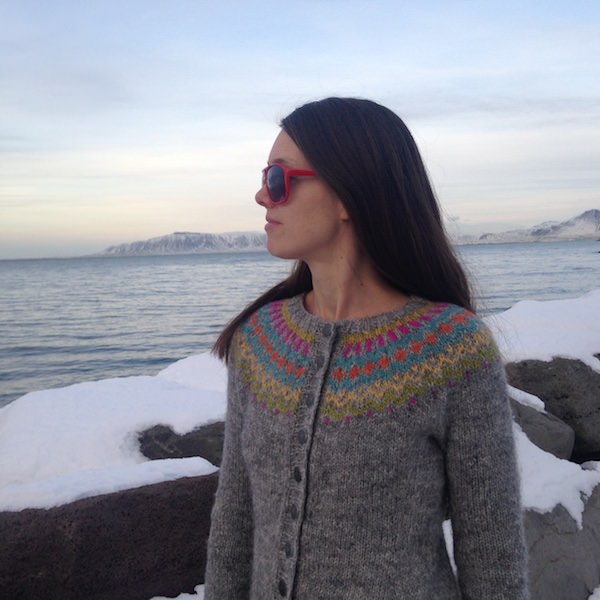
First, I don’t bother darning the ends in the yoke: I leave them at the front between the 2 purl stitches so that they will be caught in the sewing and secured. I usually leave them at the front as I knit and change colors but if I didn’t or forgot, I pull them through the fabric with a crochet hook.
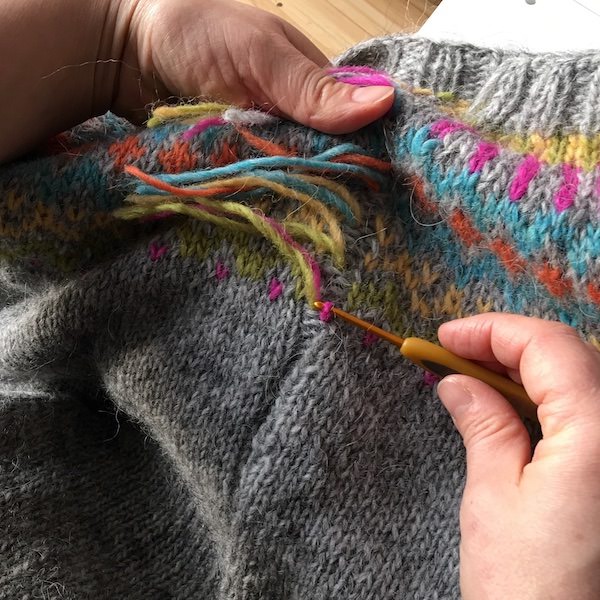
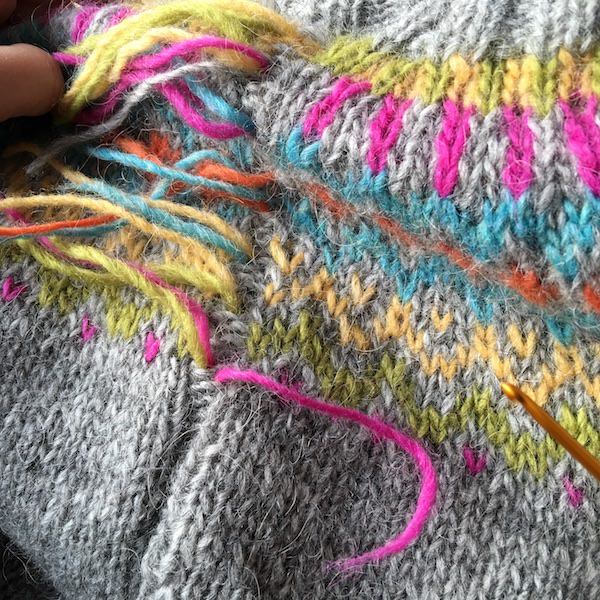
When ready to sew, I swap the ends from one side to the other: to the left when I sew into the right purl stitch, and to the right when I sew into the left purl stitch.
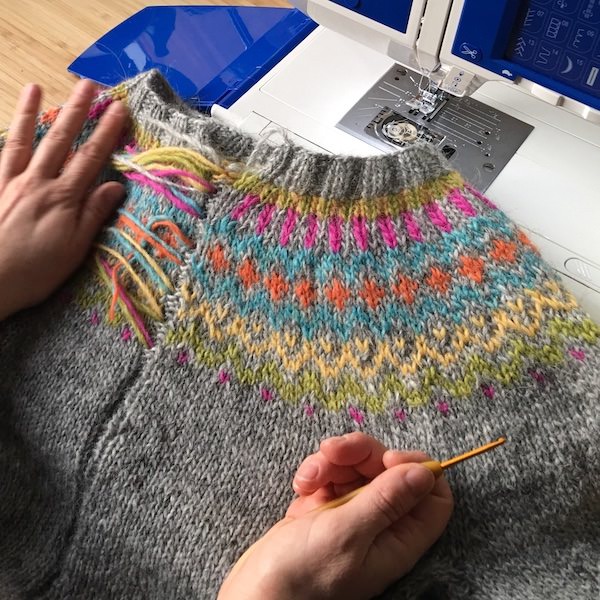
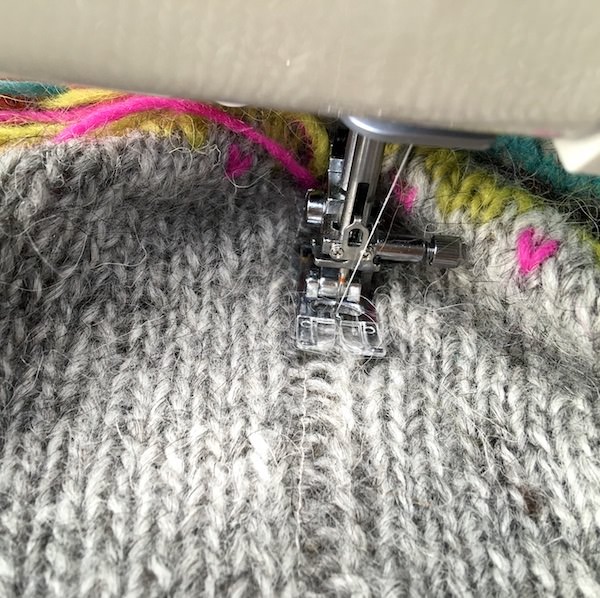
Here is a video:
– let the machine do the job: don’t pull, push or distort the fabric. I only use the tips of my fingers to open up the purl stitches.
– make sure you’re not sewing into more than one layer! This is why I regularly put my hand inside the sweater.
Now the sewing is done and as you can see, the ends are in the middle of the two lines of stitches, and perfectly secured.
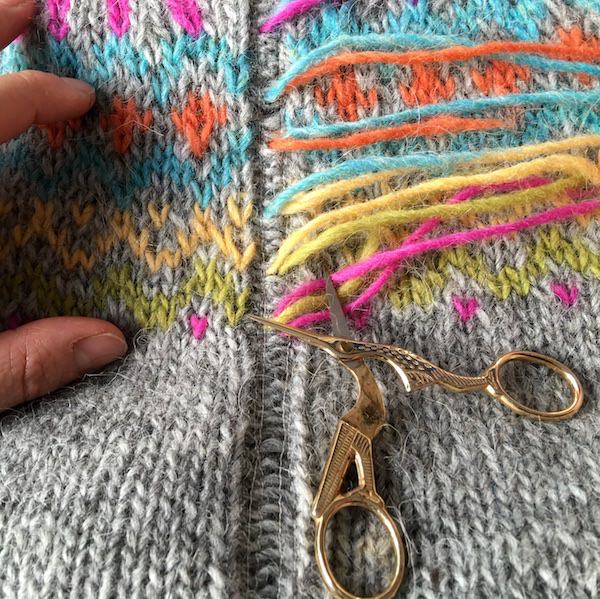
And… cut! The video:
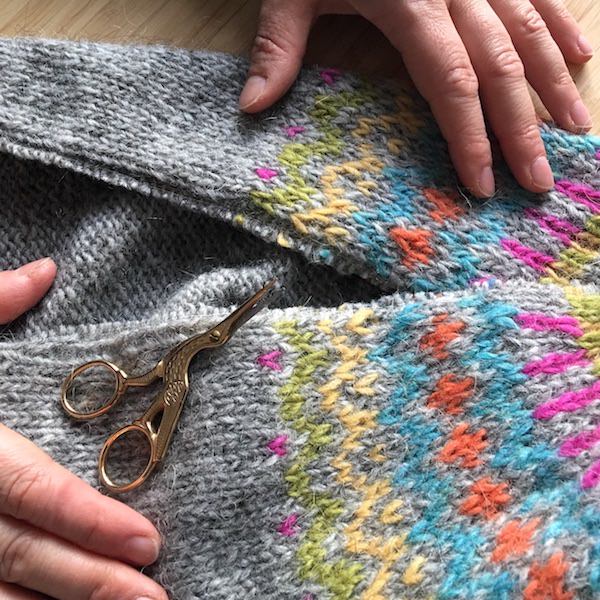
Next I will show you how to knit the button bands and add a ribbon to hide the steek.


