Knitting tip & techniques
Icelandic intarsia knitting: yarn management
Petite leçon: jacquard intarsia, dompter les fils
As promised, here is a little tutorial on how to manage yarn when working intarsia knitting. The two methods below are appropriate when knitting large colors blocks in intarsia. Method 1 is well known but the amount of yarn you can wind around a bobbin is limited. Method 2 requires odd material such as cereals packs and stones… It does require more attention but it is faster when it comes to interlock the yarns and it can deal with about any amount or type of yarn, even the tickest ones.
Method 1: using bobbins (cards for yarn).
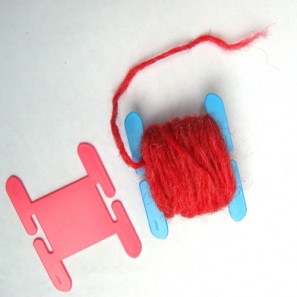
- Wind yarn around the bobbins.
- Always keep the bobbins close the needles to avoid tangling.
Method 2: using a box and centre-pull balls.
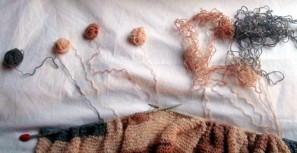
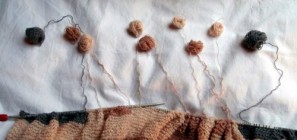
- The balls are kept in a box in the order they are used. They are reorganized at each change of motif.
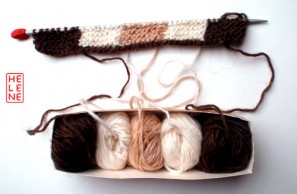
- See previous tutorial on how to make centre-pull balls on your thumb.

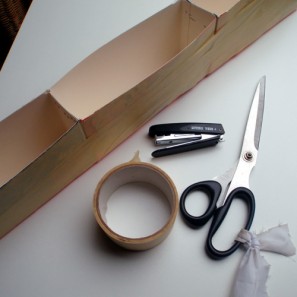
- Home-made box: you may already own a box of the right size to hold tightly the required number of balls of yarn, but if not, simply cut the bottom of cereals boxes and attach them together with staples and/or tape.
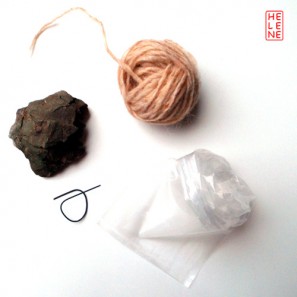
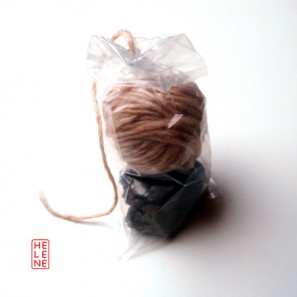
- It’s best to weigh the balls in place to avoid them “jumping” out of the box when knitting. Home-made tip: place a small stone in a little plastic bag and put a centre-pull ball on top, secure with an elastic, not too tight, so that you can easily pull off the yarn.
- At each colour change, the yarns are interlocked but they will untwist when working the following row. When you knit a row, RS facing, and turn your work, the already interlocked yarns will twist. Knit the WS facing row, and turn your work in the opposite direction: it will untwist the yarns. It almost feel like a little miracle. But be careful, if you turn the wrong way it will add a twist.

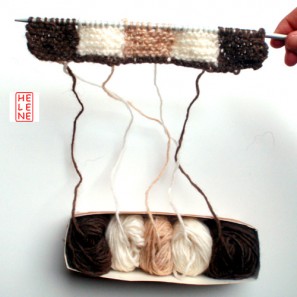
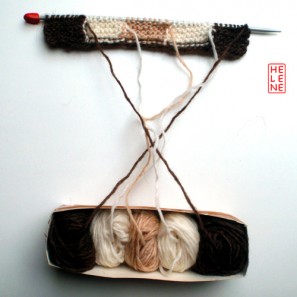
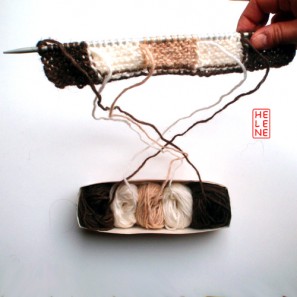

- Here is a good tip to remember: with RS facing, turn you work clockwise, with WS facing, turn your work counter clockwise.
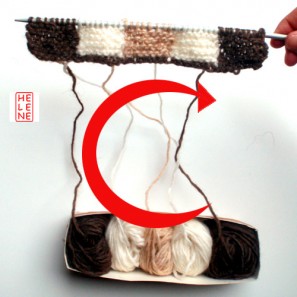
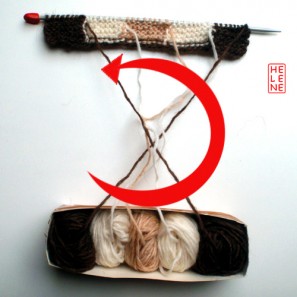
- Keep in mind not to add an extra twist when moving colours, especially to the right (see previous tutorial). Check regularly, at the beginning of an RS row, that every thing is in order. If not, lay work down and untwist the yarns.
Help, I made a mistake !
- Don´t panick, open the window and take a big breath. Lay your work flat and frog it row by row, following the color order so the strands don´t get tangled.
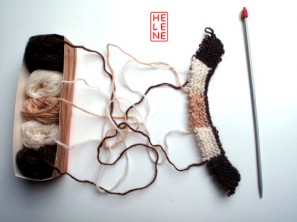
- With method 1, you will have to wind the bobbins and uninterlock them as you frog. Or cut the strands and rewind the bobbins starting at one side and working your way through the other side (so that you only deal with two tangled strands at the time, not three).
- With method 2, once it ´s all frogged, put stitches back onto needle, then wind the strands again on your thumb, starting close the needle, at one side of the work and working your way to the other side. Don´t pull yarn through loops.
